Team:UNICAMP-EMSE Brazil/Methodology
From 2011.igem.org

| Home | Project | Methods | Results | Data | Team | Notebook | Human Practices | Safety | Profile | Sponsors | Wix |

Contents |
Creating a great WARRIOR!
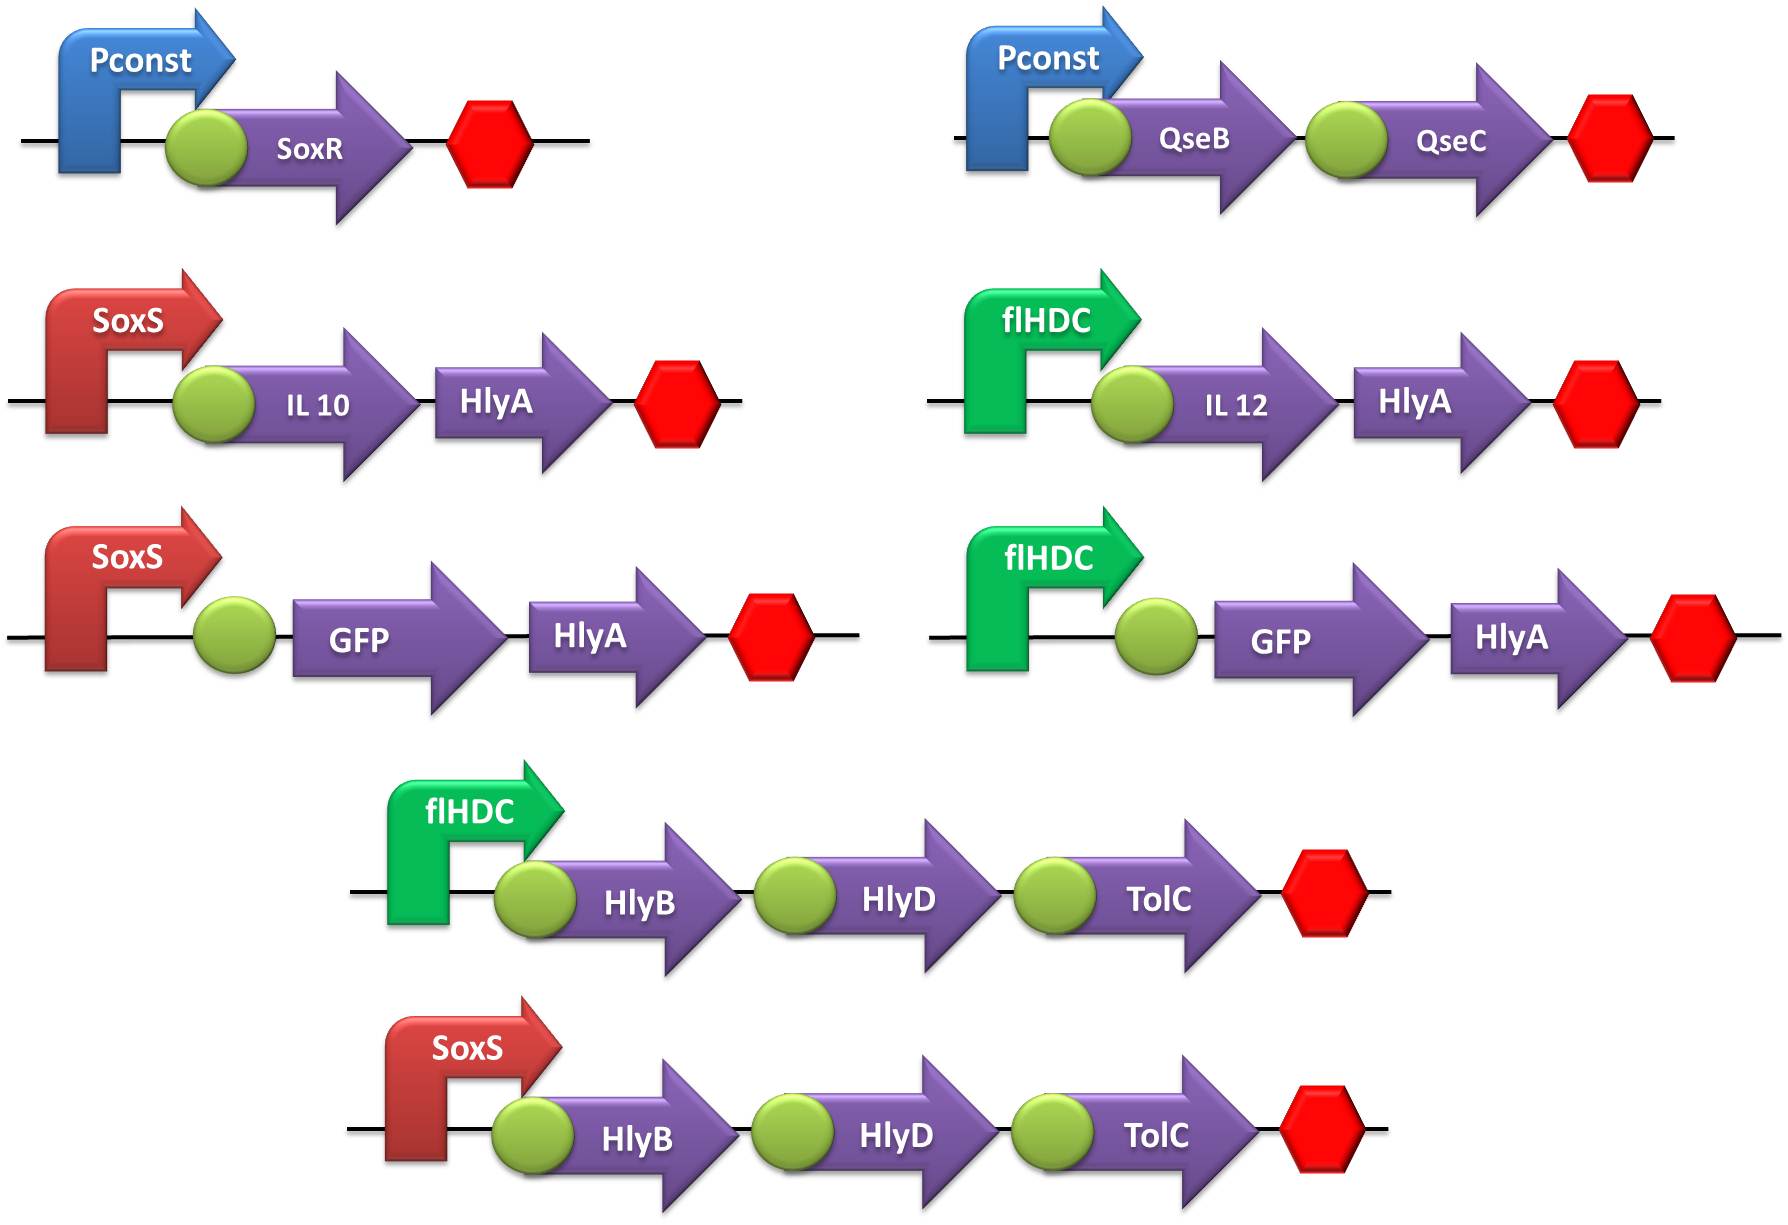
In order to create our “Jedi coli” to fight the STRESS WARS, we trained padawcolis to use their power to sense Nitric Oxide (NO) or Adrenaline and produce IL-10 and IL-12, respectively, to defend or bodyConfederation host against inVader bacteria. By the end of the harsh Jedi training, which included hours of cutting and ligation, cloning and transformation, we aimed to develop the following gene constructions:
Work plan:
Our work was divided in three main steps:
- Biobrick assembly;
- Suit the biobrick for shipment (remove them from the original plasmid and insert them on pSB1C3 plasmid);
- Devices construction and testing.
First step: Biobricks Assembly
Part descriptions
For the reasons explained in the safety proposals, we synthesized the following gene sequences according to assembling standard 23 and in the format of transcriptional units [with RBS ([http://partsregistry.org/Part:BBa_B0030 B0030]) and stop codon, when protein coding:
In our project, we also used the following biobricks from the 2011´s biobrick collection distribution sent by the iGEM headquarters:
Description of the assembly process:
- NO and Adrenaline sensors:
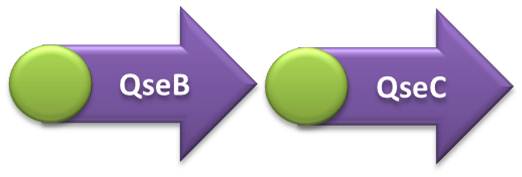
- The first step was to ligate both SoxR and QseB/QseC transcriptional units with the terminator, followed by the ligation of these constructs to the constitutive promoter.
- IL-10, IL-12 and GFP expressing units:
- Terminator sequence was ligated in the Hemolysin A sequence, followed by the fusion of this construction with the IL-10, IL-12 or GFP transcriptional units (GFP one was first coupled with RBS sequence). The final biobrick was obtained after the coupling of interleukin or GFP transcription units (+ Hemolysin A + Terminator) with the respective promoters.
- Secretion systems:
- The first round of ligation was accomplished by coupling the Terminator with the TolC transcriptional unit. The subsequent ligation round comprised the ligation of HlyD in the TolC+Terminator construct, while HlyB was ligated in the promoters. The last assembling step was accomplished by coupling the SoxS or flHDC promoter+HlyB with the previously assembled construction HlyD+TolC+T.
Second step: Suit the biobricks for shipment
This step was accomplished by the digestion of our biobricks with EcoRI and PstI in their initial plasmid (synthetic or iGEM backbones) and ligate them in the linearized pSB1C3 backbone.
Third step: Construction of the devices and testing
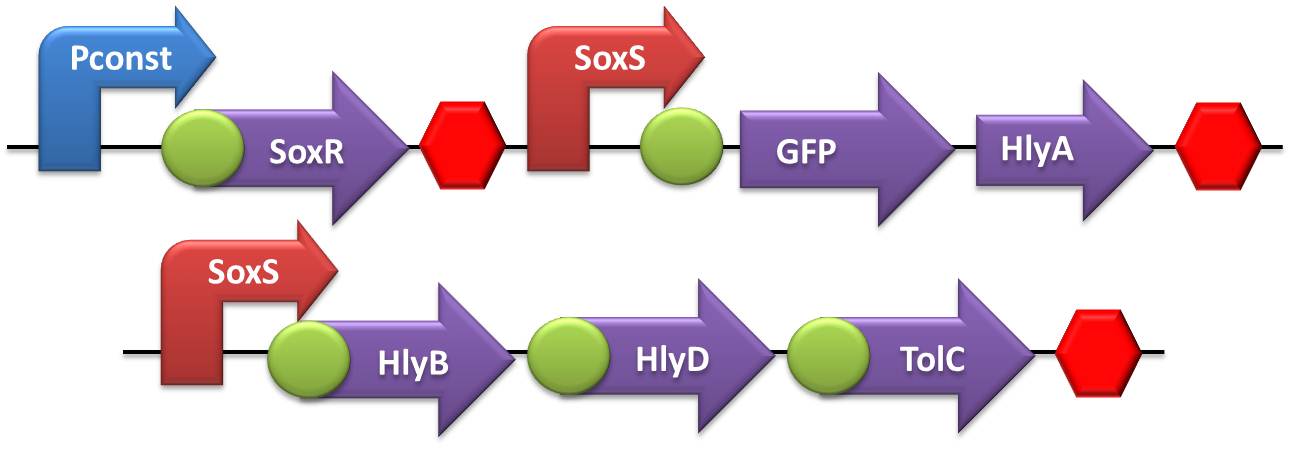
In order to ease the functional tests intended to be performed in our assembled devices, both sensor and expressing system were coupled in the same vector, resulting in the following assembled devices:
- Testing device to validate SoxS and sensor system:
- Testing device to validate flHDC and sensor system:
- To test the secretion system we made a double transformation with these devices in two different plasmids with different antibiotics resistance:
We were able to successfully assembly those constructs but unfortunately, we did not have time to test the following assembly:
Results
Check our device testing experiments at Results page and the day-to-day work done to built the devices at our Notebook page.
 "
"


