 "
"
Team:BU Wellesley Software/Notebook/MargauxNotebook
From 2011.igem.org

Margaux's Notebook
| Protocol List | |||||
|---|---|---|---|---|---|
| Gel Extraction | Media:Qiagen_QIAquick_Gel_extraction.xls | Ligation | Media:Ligation.xls | MiniPrep | Media:Qiagen_QIAprep_Miniprep.xls |
| NanoDrop | Media:ND.xls | Restriction Digest | Media:Restriction_Digest.xls | Transformation | Media:Transformation.xls |
6/1/11-6/6/11:BU-WELLESLEY TEAM BOOT CAMP | |
|
Biology:
Computational:
To practice techniques, we performed mini preps on a variety of previously transformed biobricks. Mine was Lac Z. The quantification of DNA isolated was as follow:
These sample were then run on the a gel next to a ladder and the DNA was confirmed to be present. In the lab meeting, we began looking at the parts and the part registry page to build up some new plasmids with different parts. I worked with Shannon to find three RBS from the Anderson Collection. We chose the following based on their antibiotic resistance and strength: 1.Bba_J61101 -On both 2010/2011 plates (2010 Distribution Plate 1-Well 5L) -Resistance A -11.9% (strength) 2.Bba_J61127 -On both 2010/2011 plates (2010 Distribution Plate 1-Well 11N) -Resistance A -6.5% (strength) 3.Bba_J61100 -On both 2010/2011 plates (2010 Distribution Plate 1-Well 5J) -Resistance A -4.75% (strength) We then plated them and set them aside to grow.
We had the weekly lab meeting and discussed the work flow to build constructs. We also noted that our bacteria with the three different RBS had grown with two different colored colonies. We removed a piece of each colony in each sample (3 samples, 2 colonies each, 6 tubes) and did a prep for a plasmid prep.
Performed a plasmid prep on all six samples. The bacteria that grew during the prep for the plasmid prep showed stringy lifeforms and bacteria in forms that we were not expecting. DNA quantification was low, and the gel electrophoresis showed nothing notable. We then checked the bacteria samples under a light microscope with a gram stain and saw that while the Ecoli we intended to be there was there, there were also other types of bacteria that were contaminating the sample. DNA Quantification
|
Week of 6/12 to 6/18 |
|
At the end of the last week, we decided there were two main goals for this week. One was to figure out what was causing the contamination and preventing the transformation of the promoters and ribosome binding sites (RBS). The other was to attempt to piece together the green fluorescent protein (GFP) with the terminator. Both of these blocks had been previously transformed and were currently available to us as plasmids. We split the team up to work on these goals. Alberto and I were predominantly in charge of the first attempt of combining the GFP and terminator, which is described below. A lesser third goal was to prepare plasmids for learning about the QIA cube, a technology that would take care of such techniques as plasmid mini-preps and gel extraction for us.
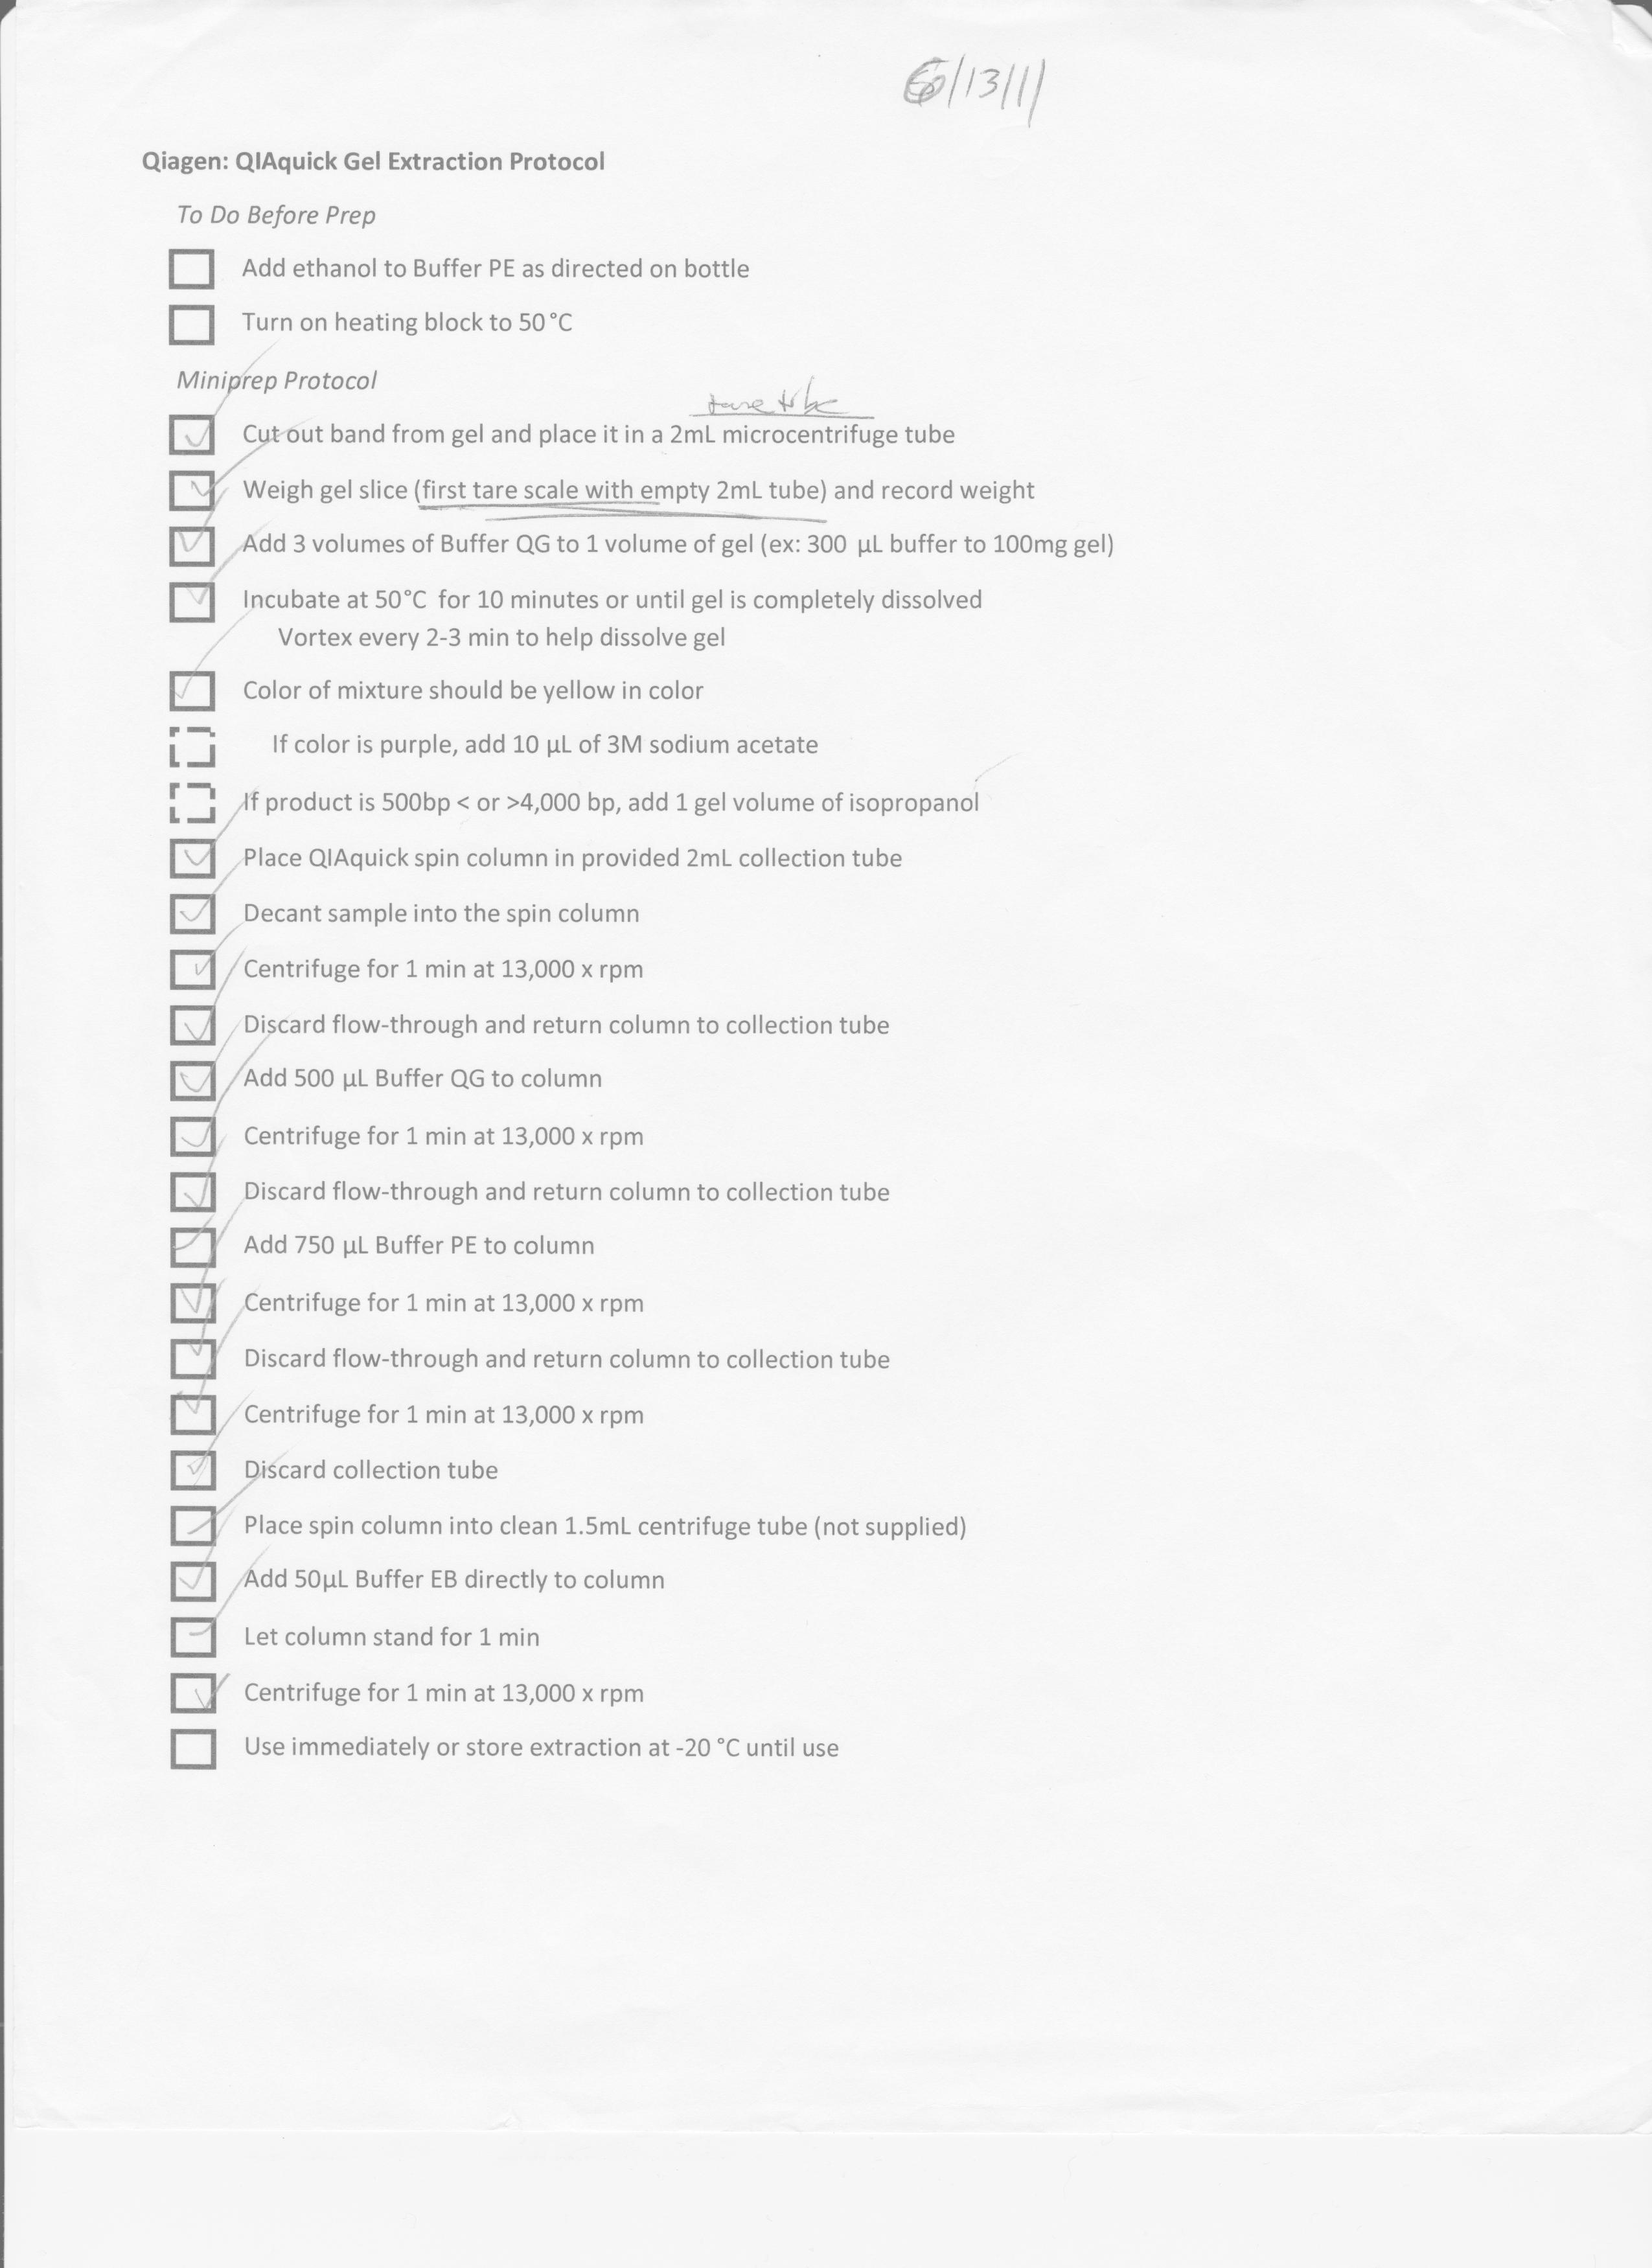
As we had the plasmids already available, our first step was to use restriction digest enzymes to cut out appropriate pieces. GFP Gene: Bba_J52028 Concentration:53.4 ng/microL Sites Cut: EcoRI, SpeI Terminator: Gene Bba_B0015 Concentration: 48.5 ng/microL Sites Cut: EcorI, XbaI We cut the plasmids at the sites noted according to the following protocol: media:RestrictionDIgest61311_MC.jpg . As the GFP gene was large enough to isolate from the plasmid, we cut it completely out of the plasmid. We only made an incision in the terminator plasmid at the EcoRI and XbalI sites in order to make room for the GFP gene. Subsequent to the restriction digest, we ran the pieces out on a gel. The result of the gel electrophoresis is the following: 
The first column is the DNA ladder. The next column is the cut plasmid containing the terminator and the third one is the intact plasmid for comparison. The placement of both was to be expected as the terminator plasmid without a cut is able to supercoil. Thus, it can proceed further down the gel then the cut plasmid. The next two pieces are the cut GFP plasmid and the intact GFP plasmid. The cut one shows two pieces: the higher up piece is the backbone and the cut GFP is the lower one. The GFP plasmid that is intact shows expected placement.
GFP    2.4 ng/microL
Terminator 2.7 ng/microL
We were hoping for large amounts, but proceed onto ligating these pieces together anyways. After running the ligation protocol on the two pieces, we proceeded to use the new, combined plasmid in transformation. The goal of this was to acquire Ecoli who would pick up the plasmid. We then performed a mini-prep on these transformations and isolated the plasmids. We then quantified the DNA present and we were pleased that the numbers had increased.
On Tuesday we began a week-long trial of the QIA cube. It is shown below.  
After autoclaving the tips on Friday, we proceeded to re-transform the RBS and promoters we were trying to transform the week before. The growth of the transformed bacteria ranged from non-existent to irregular. A few appeared normal, but enough were wrong that we were convinced we had found the problem. We then made new plates with ampicilin. Happily, the new 2011 plates of DNA had come in the same day. Therefore, once the plates were made, we transformed the new DNA. We then completed the plasmid preps the next day and on Friday performed the minipreps. We will move forward with these samples over the next week and hopefully begin constructing full plasmids with the GFP and Terminator Composite we finished making. |
Week of 6/19 to 6/25 |
|
The overall goal for this week was to start combining parts now that we were able to grow them without contamination. There were a lot of meetings this week between the different teams to help keep us on track.
There were three parts I originally looked to combine this week: Bba_E0430 * contains a composite part of a RBS, YFP, and terminator * RBS-B0034; EYFP-E0030; terminator-B0010+B0012;
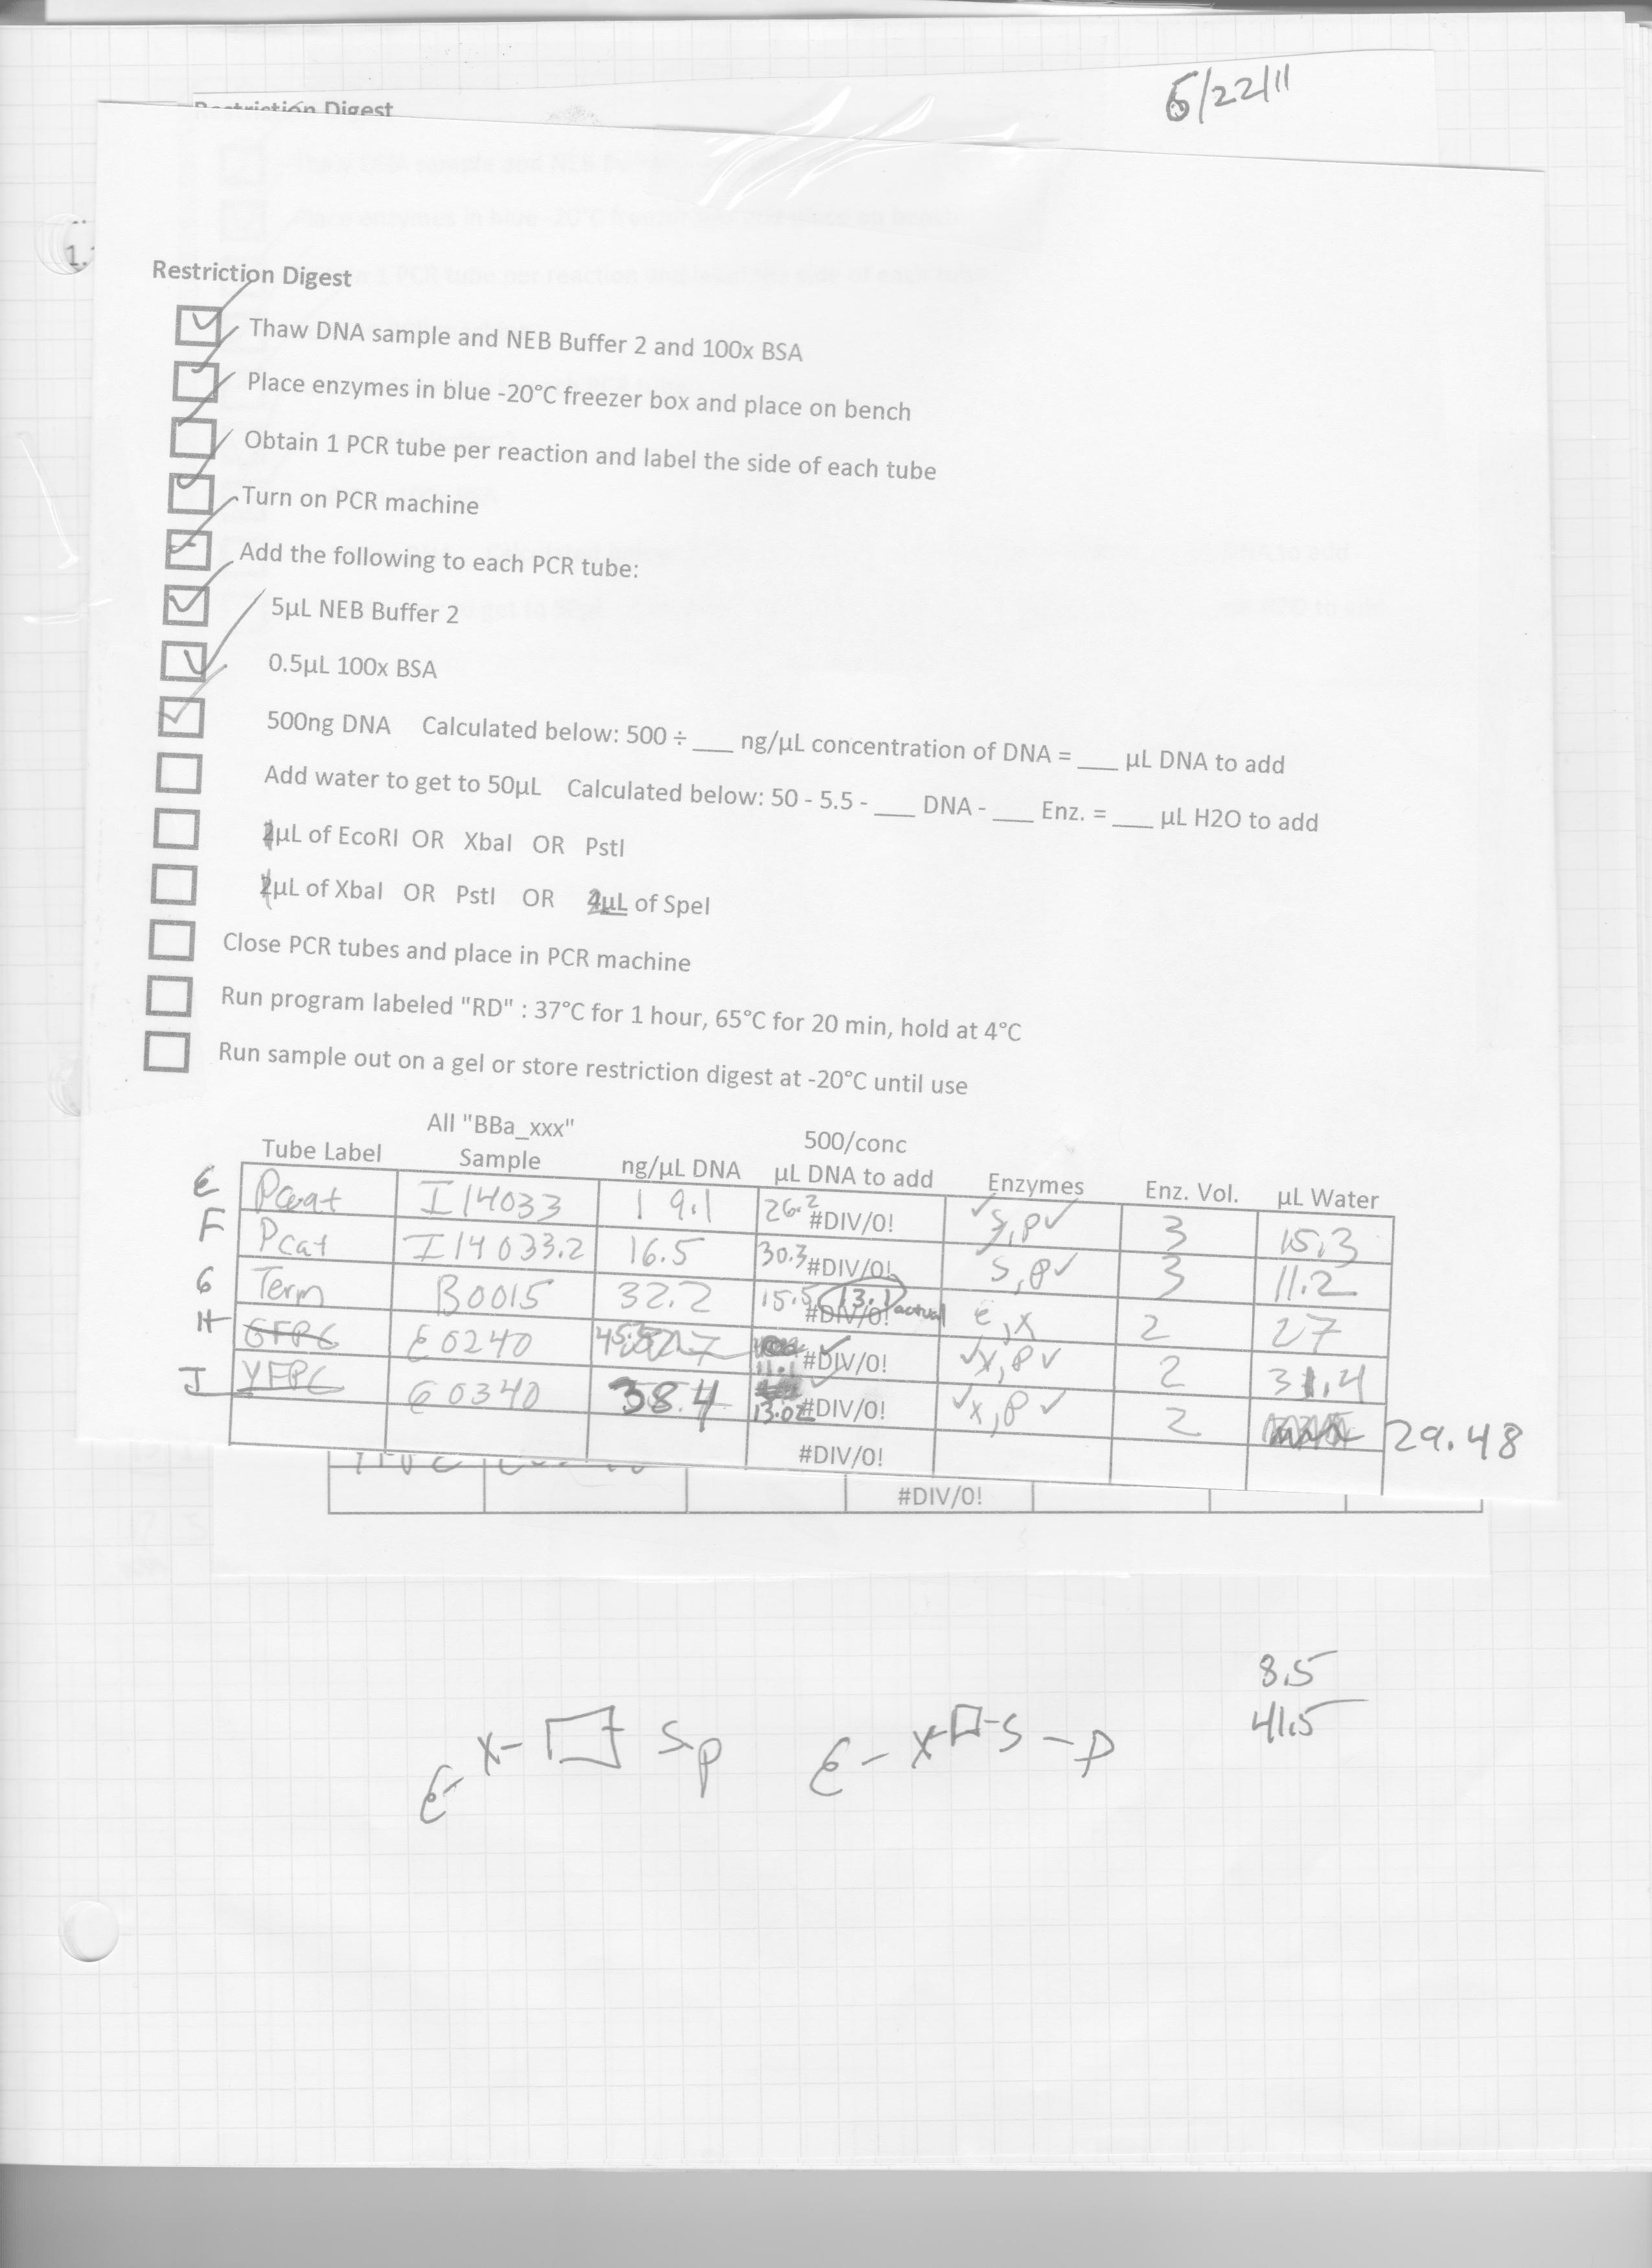
 Bba_E0240
 * contains a composite part of a RBS, GFP, and terminator
 * RBS-B0032; GFP-E0040; terminator-B0010+B0012;
Bba_R2000 * Promoter that has been noted to work well with Bba_E0240 The goal was to then ligate the promoter with both YFPc and GFPc. However, I cut both wrong. Logically, my cuts would have worked but not realistically. I attempted to cut out the promoter and it was too small. The gel came out looking odd and I finally corrected the cuts (media:RD62211_MC.jpg) and they came out looking normal.
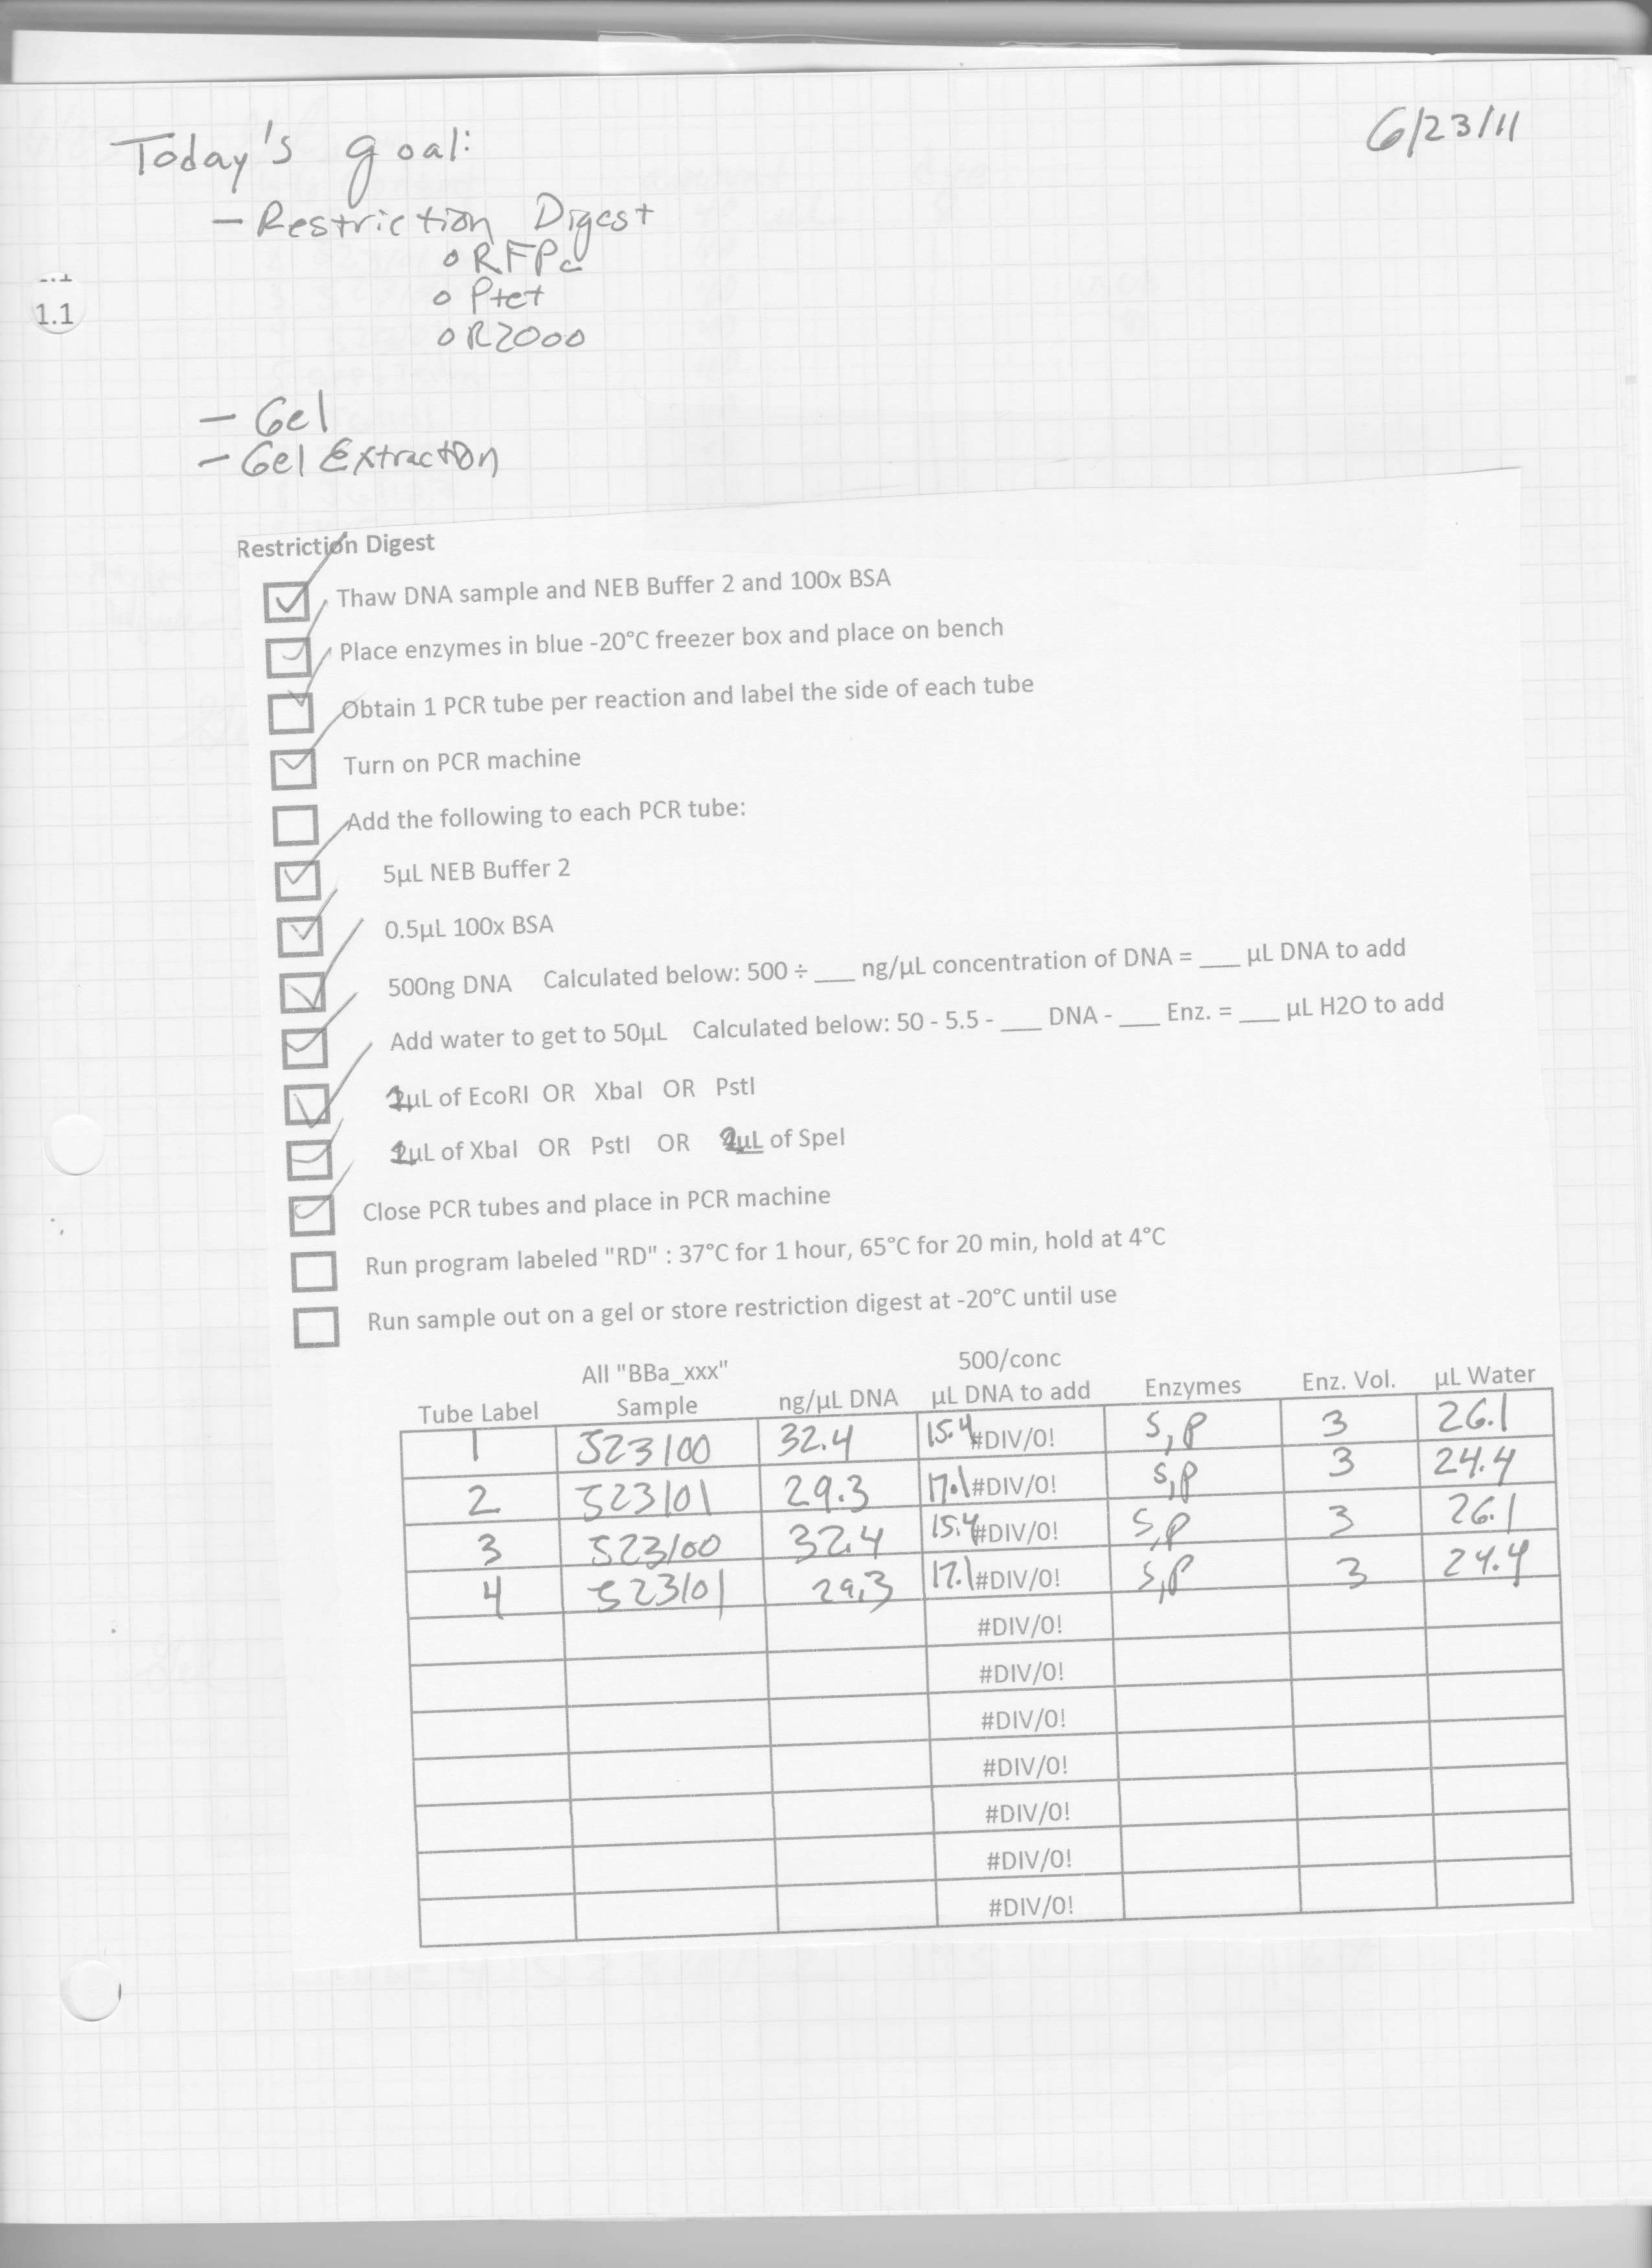
We were given a goal of coming up with four devices that had the same fluorescent protein gene, terminator, and RBS. However, we would use a different promoter each time. We decided to split up the work to finish making the four devices. I chose to work on making an RFP composite from a variety of promoters we had transformed that had given us pink/red cells. I used the promoters: Bba_J23100 * has an RBS, RFP, and terminator Bba_J23101 * has an RBS, RFP, and terminator I cut out, using restriction digest (media:RD62311_MC.jpg), a piece that contained the RBS, RFP, and terminator. I ran them on a gel and the pieces were collected. Their DNA was quantified as
I used the two available cut promoters: * Bba_I14033
Cuts: SpeI, PstI
* Bba_I13453
Cuts: SpeI, PstI
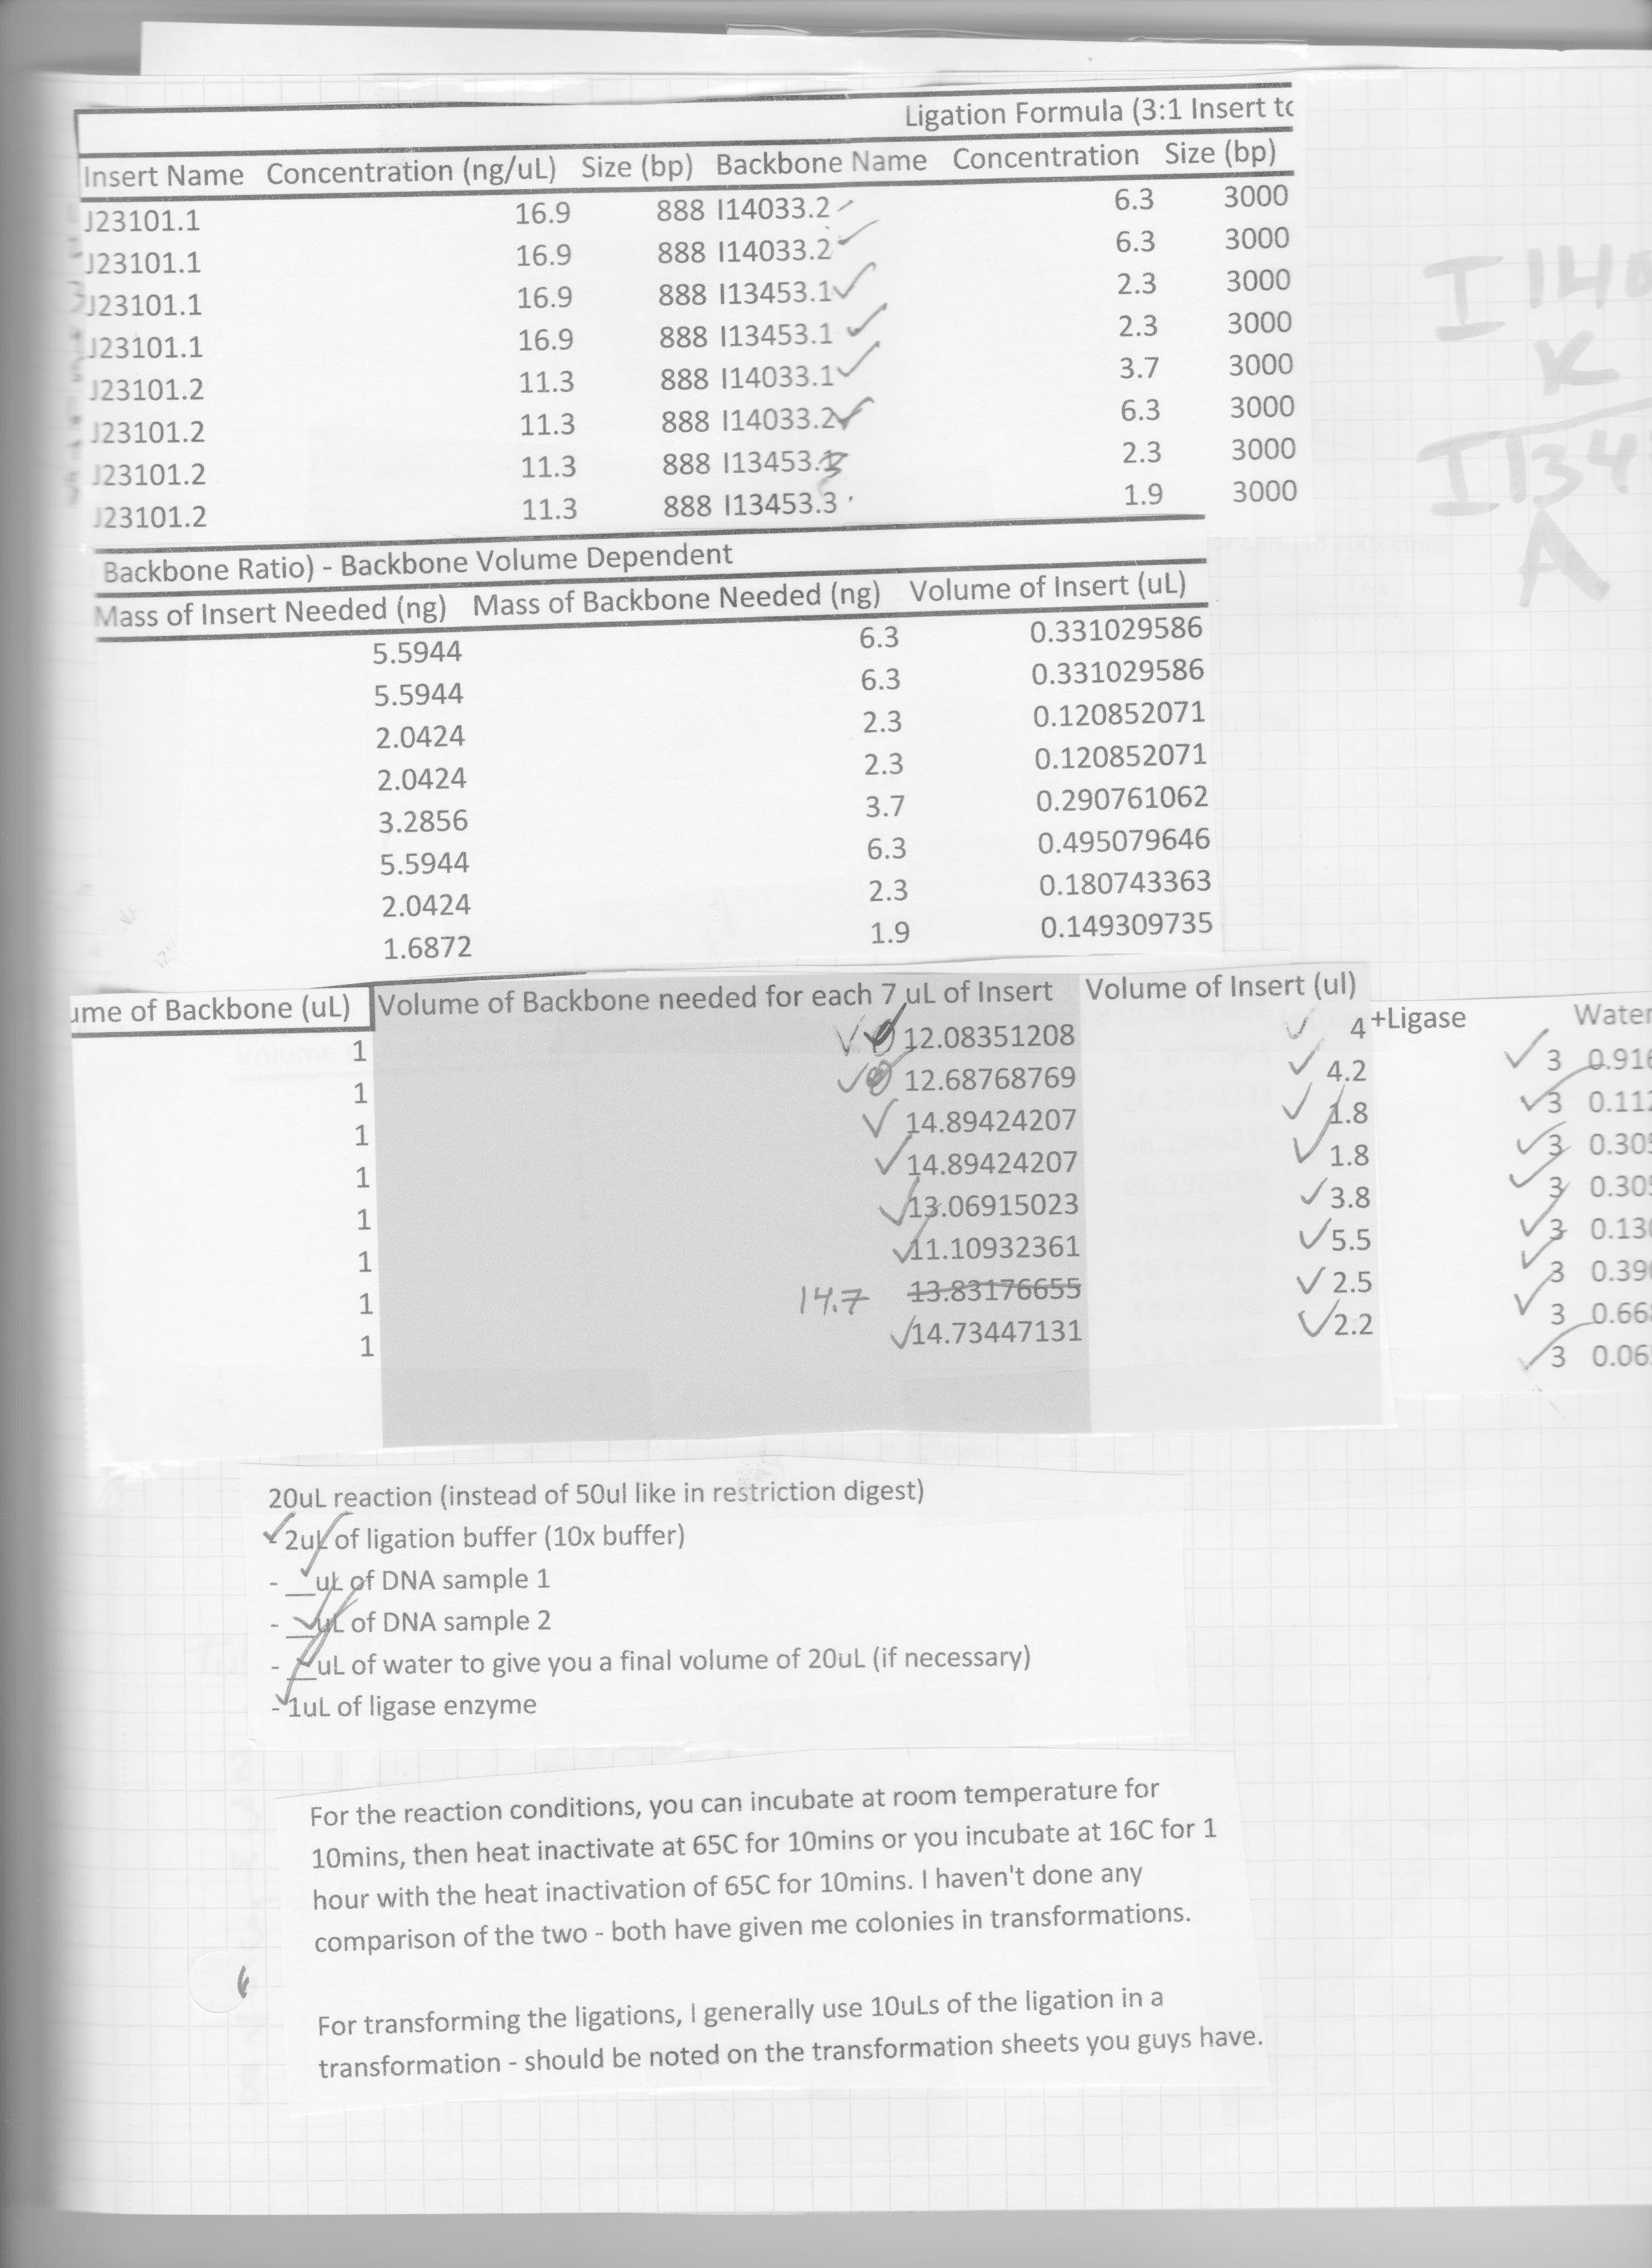
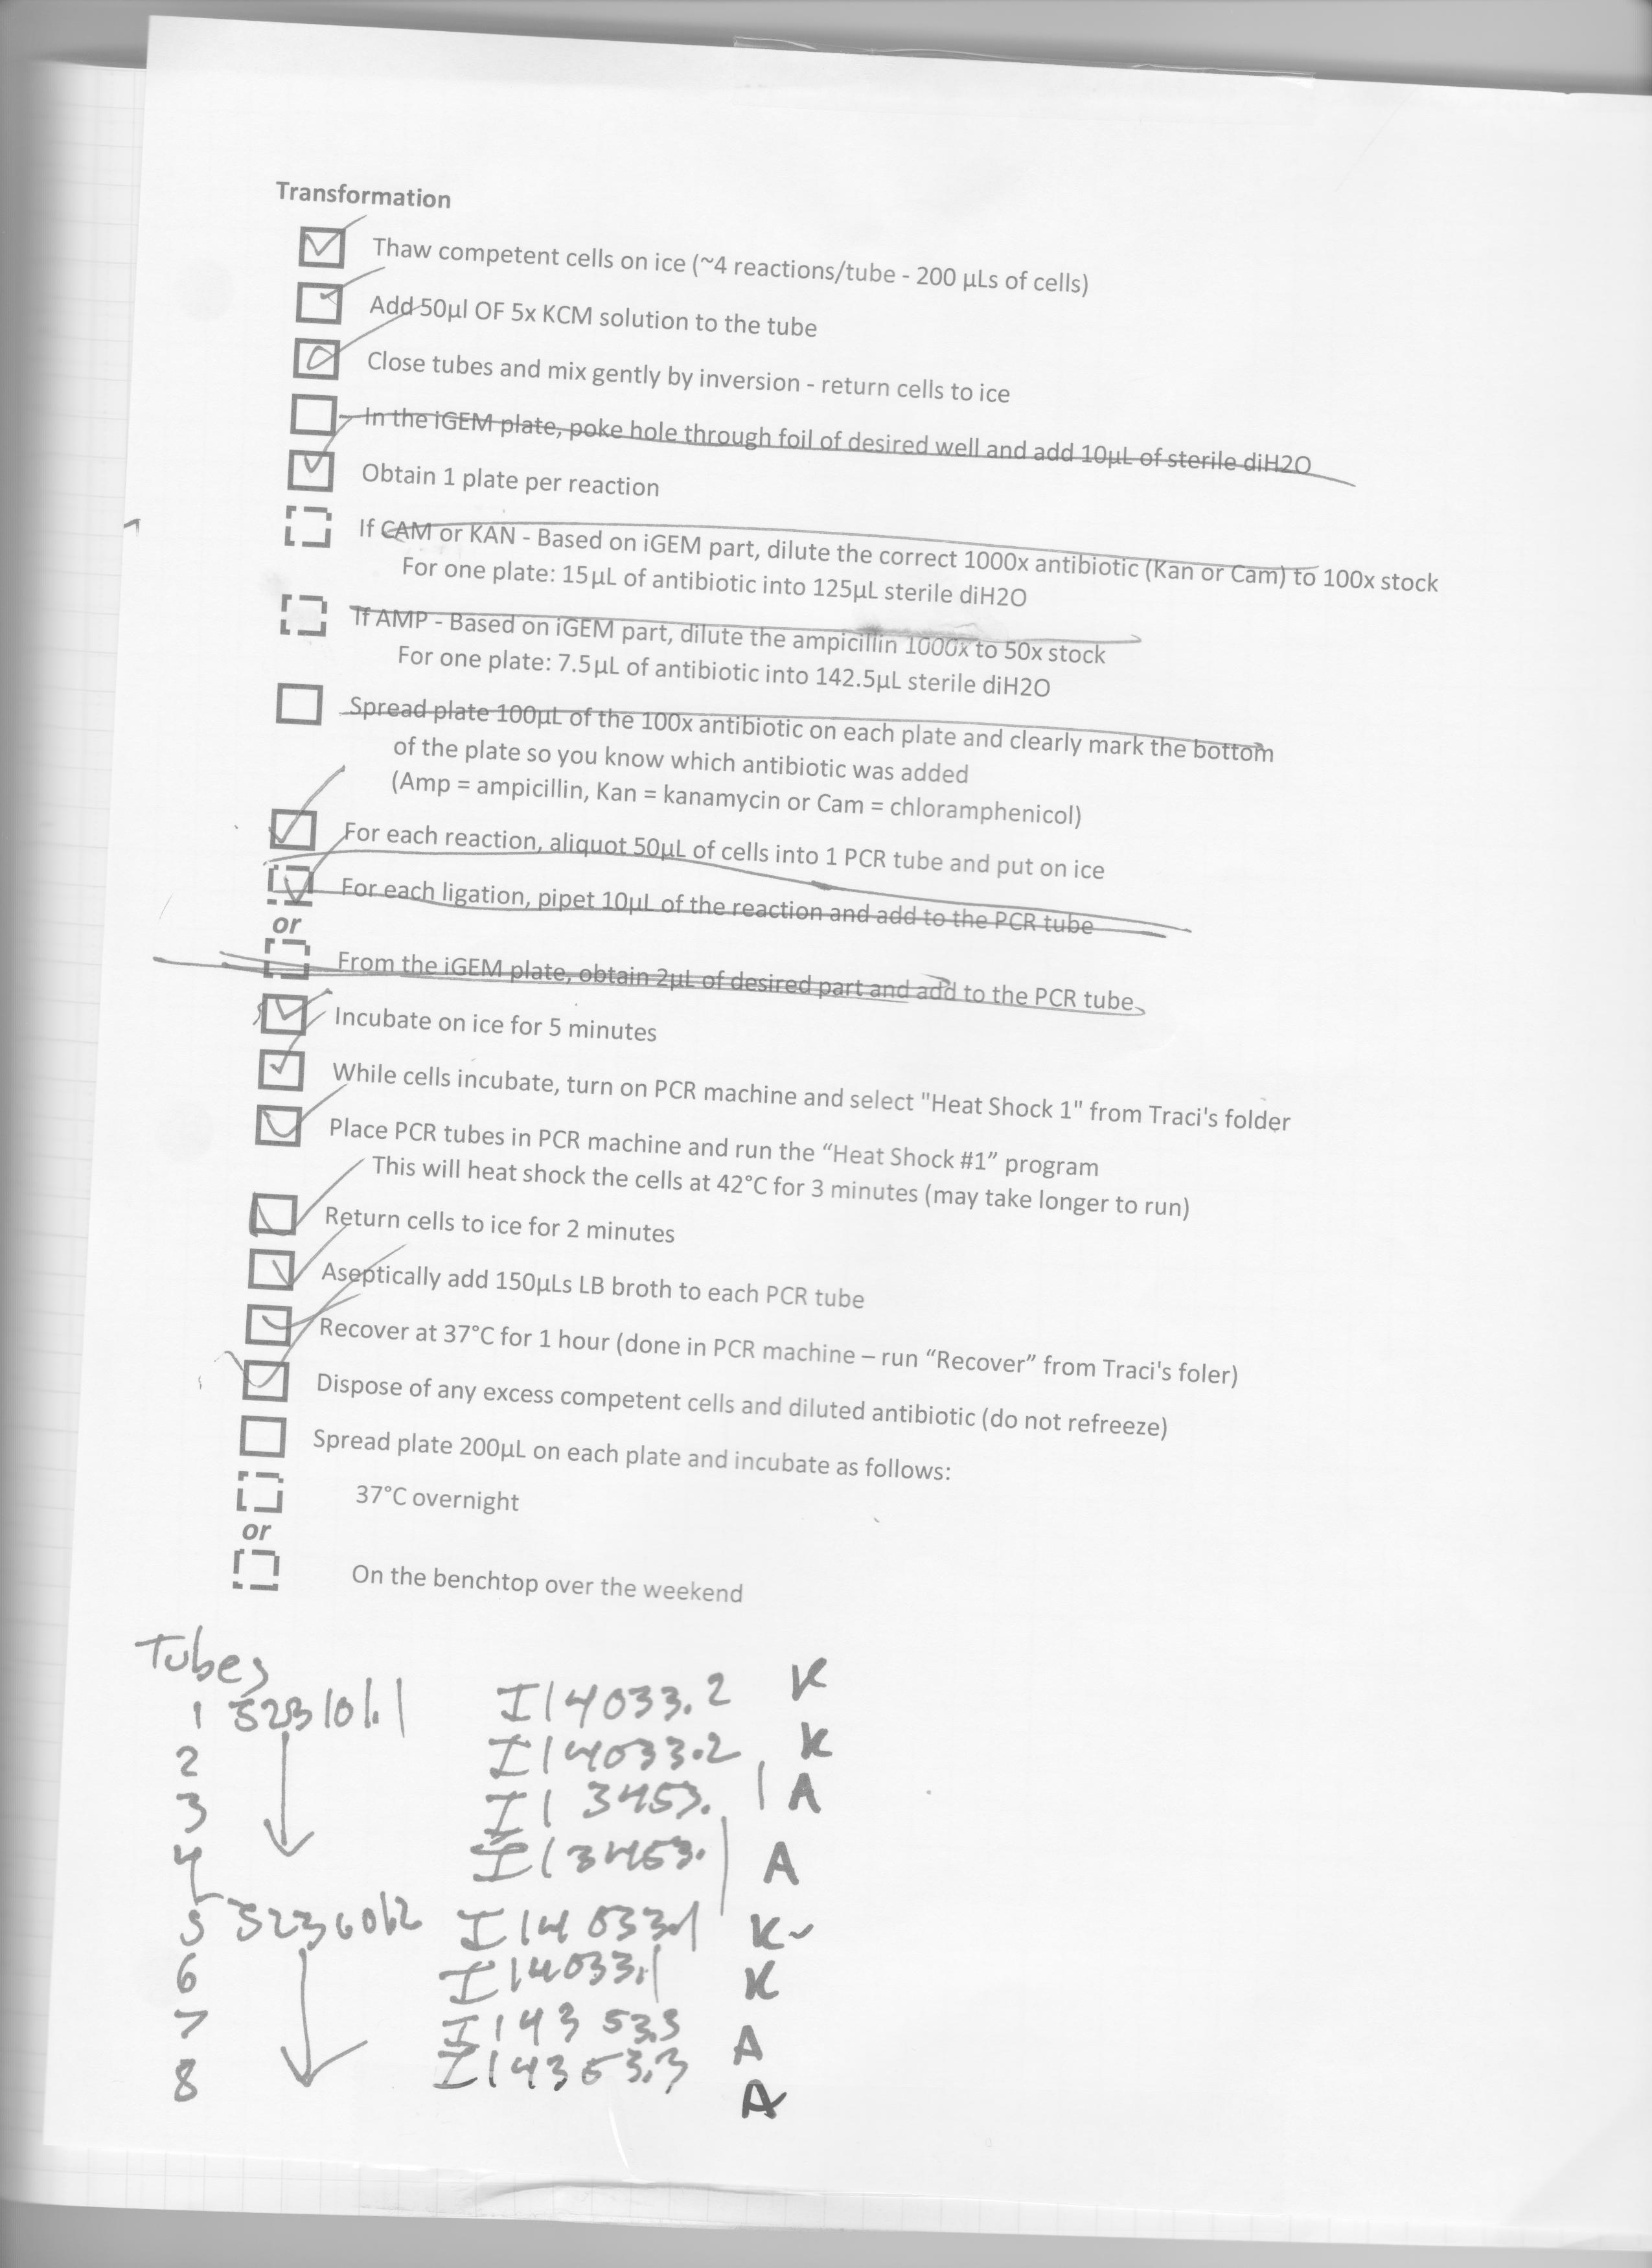
to ligate with the RFPc. Their quantification values are noted in this protocol (media:LigationProtocol62311_MC.jpg) along with the values used in the ligation. Transformation was completed with these new plasmids (media:Trans62311_MC.jpg) and nothing grew. My partners had attempted earlier to combine a GFP composite and a YFP composite with promoters and had the same result. Our tendency is to blame our ligation protocol, and are taking steps to correct it.
One thing that stood out to me was the low concentration of my parts used in ligation. To acquire a higher concentration,I ran a restriction digest (media:RD62511_MC.jpg) on the following: BBa_J23101 Bba_J23100 BBa_R2000 Bba_I14033 These were then loaded into a gel and ran. |
Week of 6/25 to 7/1 |
|
A gel extraction of the samples that were restriction digested was performed on Saturday. The concentration values were much higher so I performed a ligation and transformation of the following: Bba_J23100.2 (concentration: 34.3 ng/microL) Bba_J23101.1 (concentration: 25.3 ng/microL) Bba_I14033.1.1 (concentration: 16.2 ng/microL) Bba_115033.1.2 (concentration: 20.4 ng/microL) Bba_R2000.2.1 (concentration:6.6 ng/microL) The combinations made were: Bba_J23100.2+I14033.1.1 (3 combinations of the same parts with 1, 2.5, and 5 microL of ligase) Bba_J23101.1+I14033.1.2 (3 combinations of the same parts with 1, 2.5, and 5 microL of ligase) Bba_J23101.1 +R2000.2.1 (1 microL ligase)
  

This would give me another three devices of promoter_RFP gene. Sadly, the highest value of concentration I got was 6 ng/microL. I attempted ligation anyways with the following parts:
The combination was RFP+promoters. Transformations were completed, and nothing grew. |
Week of 7/4 to 7/8 |
|
In an attempt to fix our ligation problem, we looked to increase the low concentrations of insert and backbone we were using. I performed an ethanol precipitation on: * J23100.2.1 * J23100.2.2 * J23100.2.3 * R0040.2.2 * I13453.2.2 * R2000.1.2 I then looked to ligate: * J23100.2.1+R0040.2.2 Amp * J23100.2.2+I13453.2.2 Amp * J23100.2.3+R2000.1.2 Kan The normal ligation protocol was used with the following changes to the protocol:
The samples were subsequently transformed using the hot plate to heat shock the samples at 42*C. After being held at 37*C overnight, no growth was visible. After this latest round of disappointment, we decided to order a new version of ligase. In preparation for the new ligase and hopefully better reactions, I performed thirteen minipreps to increase the stock of the following:
Kyle, Vanessa, and I learned how to create primers for genes and promoters. |
Week of 7/8 to 7/15 |
|
We used QuickLigase to bind J23100 and R0040. The transformation was still unsuccessful. I then restriction digested some of the plasmids from the Miniprep the week before.
The concentrations were so low (highest 4.7 ng/microL) that I repeated the restriction digest and gel extraction and while the numbers were not phenomenal, they did improve. I then used CIP to de-phosphate the ends of the backbone to prevent it from binding with itself. Ligation was completed using the normal ligase and no colonies grew. |
Week of 7/15 to 7/22 |
|
After speaking with grad students in Jim Collins lab, we decided to try combining some parts at different ratios for different times.For example, I combined:
We used top ten cells for both of these. The only growth was the overnight 1:3 ratio. However, Alberto had great success using the alpha select cells. I transformed my 3:1 mixture of pcat+rfpc with these. I then ligated:
All four combinations were transformed overnight in the 37*C. These gave me great success: J23100+I14033 was already glowing pink with one bright red dot by the morning. During the plasmid preps, the J23101+R0040 combination turned strawberry pink. However, R2000+J23101 did not yield any colonies. Due to its limited success, we decided to abandon plans to combine them. The samples were then miniprepped and the concentration values were as follows: Four samples per combination:
Glycerol stocks were made of the best sample of each combination. |
Week of 7/22 to 7/29 |
|
Additionally, I ran restriction mapping on some of the samples as well. The gel is here:
D. J23101_I13453 Uncut E. J23101_I13453 Single Cut F. J23101_I13453 Double Cut G. J23101_R0040 Uncut H. J23101_R0040 Single Cut I. J23101_R0040 Double Cut By seeing where the backbone and part ended up as well as where the separated parts we were able to determine that everything was where it was supposed to be. Success!! The gel images were modified to see the intensity of the bands. |


Clotho Tutorial/Advice |
|
Some advice: 1.Get the most updated Clotho from Jenhan. If you go to the meeting on Friday (8/5) he should be able to hook you up. 2.Be aware that things sometimes do not save and that having a word processor open and an excel chart open could save you serious time if you copy what you are working on over to there. 3.Enjoy! Starting out:
1.Open up Clotho Adding a Part: What constitutes as a part? Any basic building block. Think of them like the atoms to make molecules. If this is the most basic piece you can get, it belongs in the part category. Includes:
Where do I add it?
You are now ready to begin adding the part. I would suggest trying one out to see if you are successful. The following is the way I have been adding them in. Nickname: Bba_I13453 Submit! A transient collection should appear. IF YOU DO NOT DO THE FOLLOWING YOUR WORK WILL NOT BE SAVED. 1. Keep Transient Collection Open Congrats! Now here's some troubleshooting. Submitting: If it tells you that you have insufficient information in the output (located on the main clotho dashboard)-check your sequence. Currently,if there are any spaces between characters Clotho will not accept your sequence. Remember how I said to have a Word document open? Paste your sequence in and use wordcount to tell you if you have any spaces/wrap around space. Re-paste the sequence in. Make sure your formats match each other. Try Margaux as your author if all else fails. If it appears everything submitted and there is no transient collection go to collector browser and see if it is in there. Copy and paste it out of there into your collection. If that doesn't work, search it on the main dashboard above the large clotho symbol. Adding a Vector: What is a vector? It is the backbone of all the parts. How do I add a vector?
1.Double Click SpreaditVectors Name: pSB1A3 Submit! Check the collection (aka Margaux's Collection) it should add to it. If not copy and paste it into the collection from the spreaditvectors main page. HIT SAVE CHANGES Again, check spaces on sequence. Adding a Plasmid: 1. Double Click Bull Trowel Vector Name: Use the Vector Name you added with spreadit vectors Plasmid name should be in this format: VectorName-PartName "pSB1A2-Bba_I13453" Format: Concatenate Submit! Again, you need to find it in either transient collection or collector browser and move it to your collection and hit save!
How to Add a Feature
1.Double click Spreadit features Using Sequence Viewer:
1.Go to collection after refreshing the main page While there is a button for restriction sites, I am not sure how to use it yet so I entered the restriction sites as features for now. This is the current extent of my understanding |
Week of 8/3/2011-8/15/2011 |
|
(Mauna Kea/Big Island,Hawaii/ 14,000 ft up) Went to Hawaii to learn to look through glass to find big things, not small things :) |

Weeks 8/15/2011-8/26/2011 |
|
After getting back from my vacation, the order of business was to tie everything together. One of the first things I learned was that my constructs of J23101+I13453 and J23101_R0040 were not working quite as expected. J23101_R0040 was using Ptet-R0040-as a repressible promoter. However, while the colonies were growing, it turned out we were missing a gene to cause it to be repressible. Similarly, the colonies with pBAD, I13453, were not glowing because the gene which induced it to work was missing. This was taken care of by Alberto and Kyle. I played around with a new Clotho application, Feature Chomp, which worked perfectly to cut up regions in APE files and save them as features. However, it did not work well with GenBank files. I also did not like one of the GUIs and spoke with Jenhan about it. I began to look at how to submit parts to the registry. The first step is to replace the backbone with pSB1c3. I grew up the DNA from the plate and restriction digested it to remove the RFP reporter inside of it. I also cut out my RFP reporters (BBa_K577000, BBa_K577001) and ligated them with the backbone. I attempted to grow them up on plates, and only the one with Pcat (K577000) grew. It had a spattering of red and white colonies. I took plasmid preps of a red and white colony, and the DNA quantification for them was as follows: White Colony: 101.5 ng/microL Red Colony: 75.7 ng/microL I restriction digested both with a single cut and double cut to perform a restriction map. The white colony did not show the correct size pieces, and the tube was discarded. The restriction map of the red colony was correct and has been sent on for shipping. The other crucial step is to enter the parts onto the registry. I have added the two mentioned above, and sent around a mock up of how to add them to my other lab members. |