Team:NYMU-Taipei/results/optomagnetic-design1
From 2011.igem.org
CHIACHENHSU (Talk | contribs) (→The Beginning) |
CHIACHENHSU (Talk | contribs) (→The Beginning) |
||
| Line 20: | Line 20: | ||
As soon as we have the AMB-1 bacteria colony, we do the AMB-1 colony PCR to get the Mms13's DNA sequences as our parts to do the following steps. | As soon as we have the AMB-1 bacteria colony, we do the AMB-1 colony PCR to get the Mms13's DNA sequences as our parts to do the following steps. | ||
| - | The correcterized gel electrophoresis result is shown below.(See Figure 2) The detail of Mms13's information, please links to [[http://partsregistry.org/wiki/index.php?title=Part:BBa_K624005]]. | + | The correcterized gel electrophoresis result is shown below.(See Figure 2) The detail of Mms13's information, please links to [[link:http://partsregistry.org/wiki/index.php?title=Part:BBa_K624005]]. |
[[Image:13_NYMU.png|frame|none|Fig. 2:The correcterized gel electrophoresis result of Mms13.]] | [[Image:13_NYMU.png|frame|none|Fig. 2:The correcterized gel electrophoresis result of Mms13.]] | ||
Revision as of 03:07, 6 October 2011

Contents |
Six Constructs and Experimental Results
We now follow the steps we construct our design to examine and illustrate what we have done so far. The total parts we construct and their detailed information will be performed and recorded in our part registry.
The Beginning
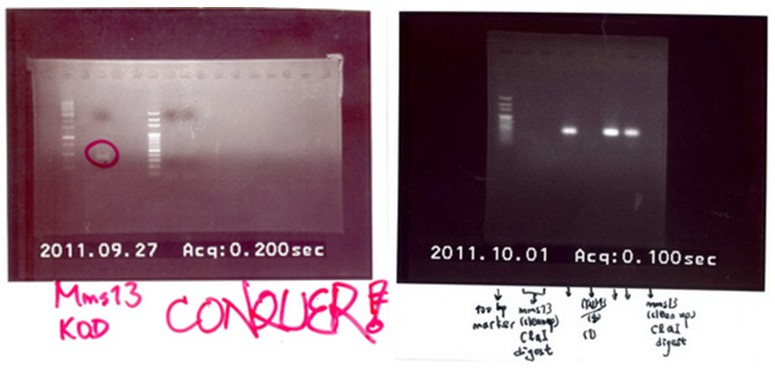
As soon as we have the AMB-1 bacteria colony, we do the AMB-1 colony PCR to get the Mms13's DNA sequences as our parts to do the following steps.
The correcterized gel electrophoresis result is shown below.(See Figure 2) The detail of Mms13's information, please links to link:http://partsregistry.org/wiki/index.php?title=Part:BBa_K624005.
Construct Mms13
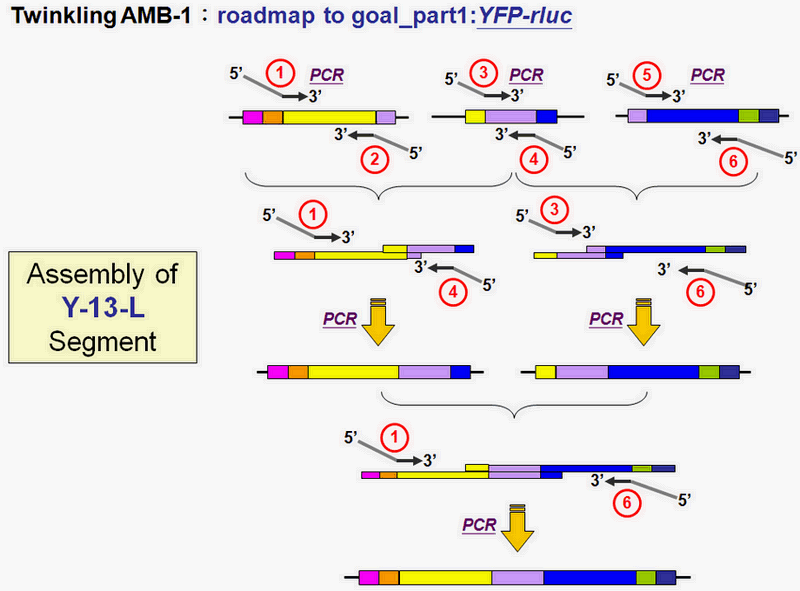
Then, after we have the fundamental material of Mms13, we did the next step of our construct.(See Figure 3)
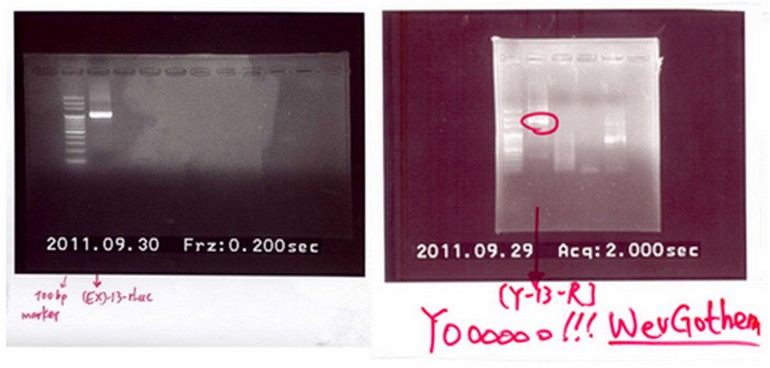
The correcterized and checked results shown in Figure 4.
For parts mms13-rLuc, link[http://partsregistry.org/wiki/index.php?title=Part:BBa_K624007]; YN-mms13-rLuc, link[http://partsregistry.org/wiki/index.php?title=Part:BBa_K624008]; EYFP-mms13-rLuc fusion, link[http://partsregistry.org/wiki/index.php?title=Part:BBa_K624006]
Construct CHAMP Design
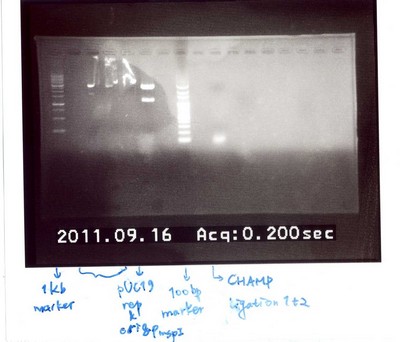
As for the CHAMP part, we use ligation process to get the whole sequences of CHAMP peptides. However, we still use the recombinant PCR procedure to anchor either YC or YFP in our process. Several electrophoresis results for CHAMP constructs are shown below.
 "
"


