Team:ETH Zurich/Process/Validation
From 2011.igem.org
(→@BIOLOGISTS: Please write here, cuz I don't know what you did exactly :S) |
|||
| Line 48: | Line 48: | ||
| - | == bla <- | + | == bla <!-- '''@BIOLOGISTS: Please write here, cuz I don't know what you did exactly :S''' --> == |
Revision as of 18:51, 24 October 2011
| Final Setup and Validation |
| |||
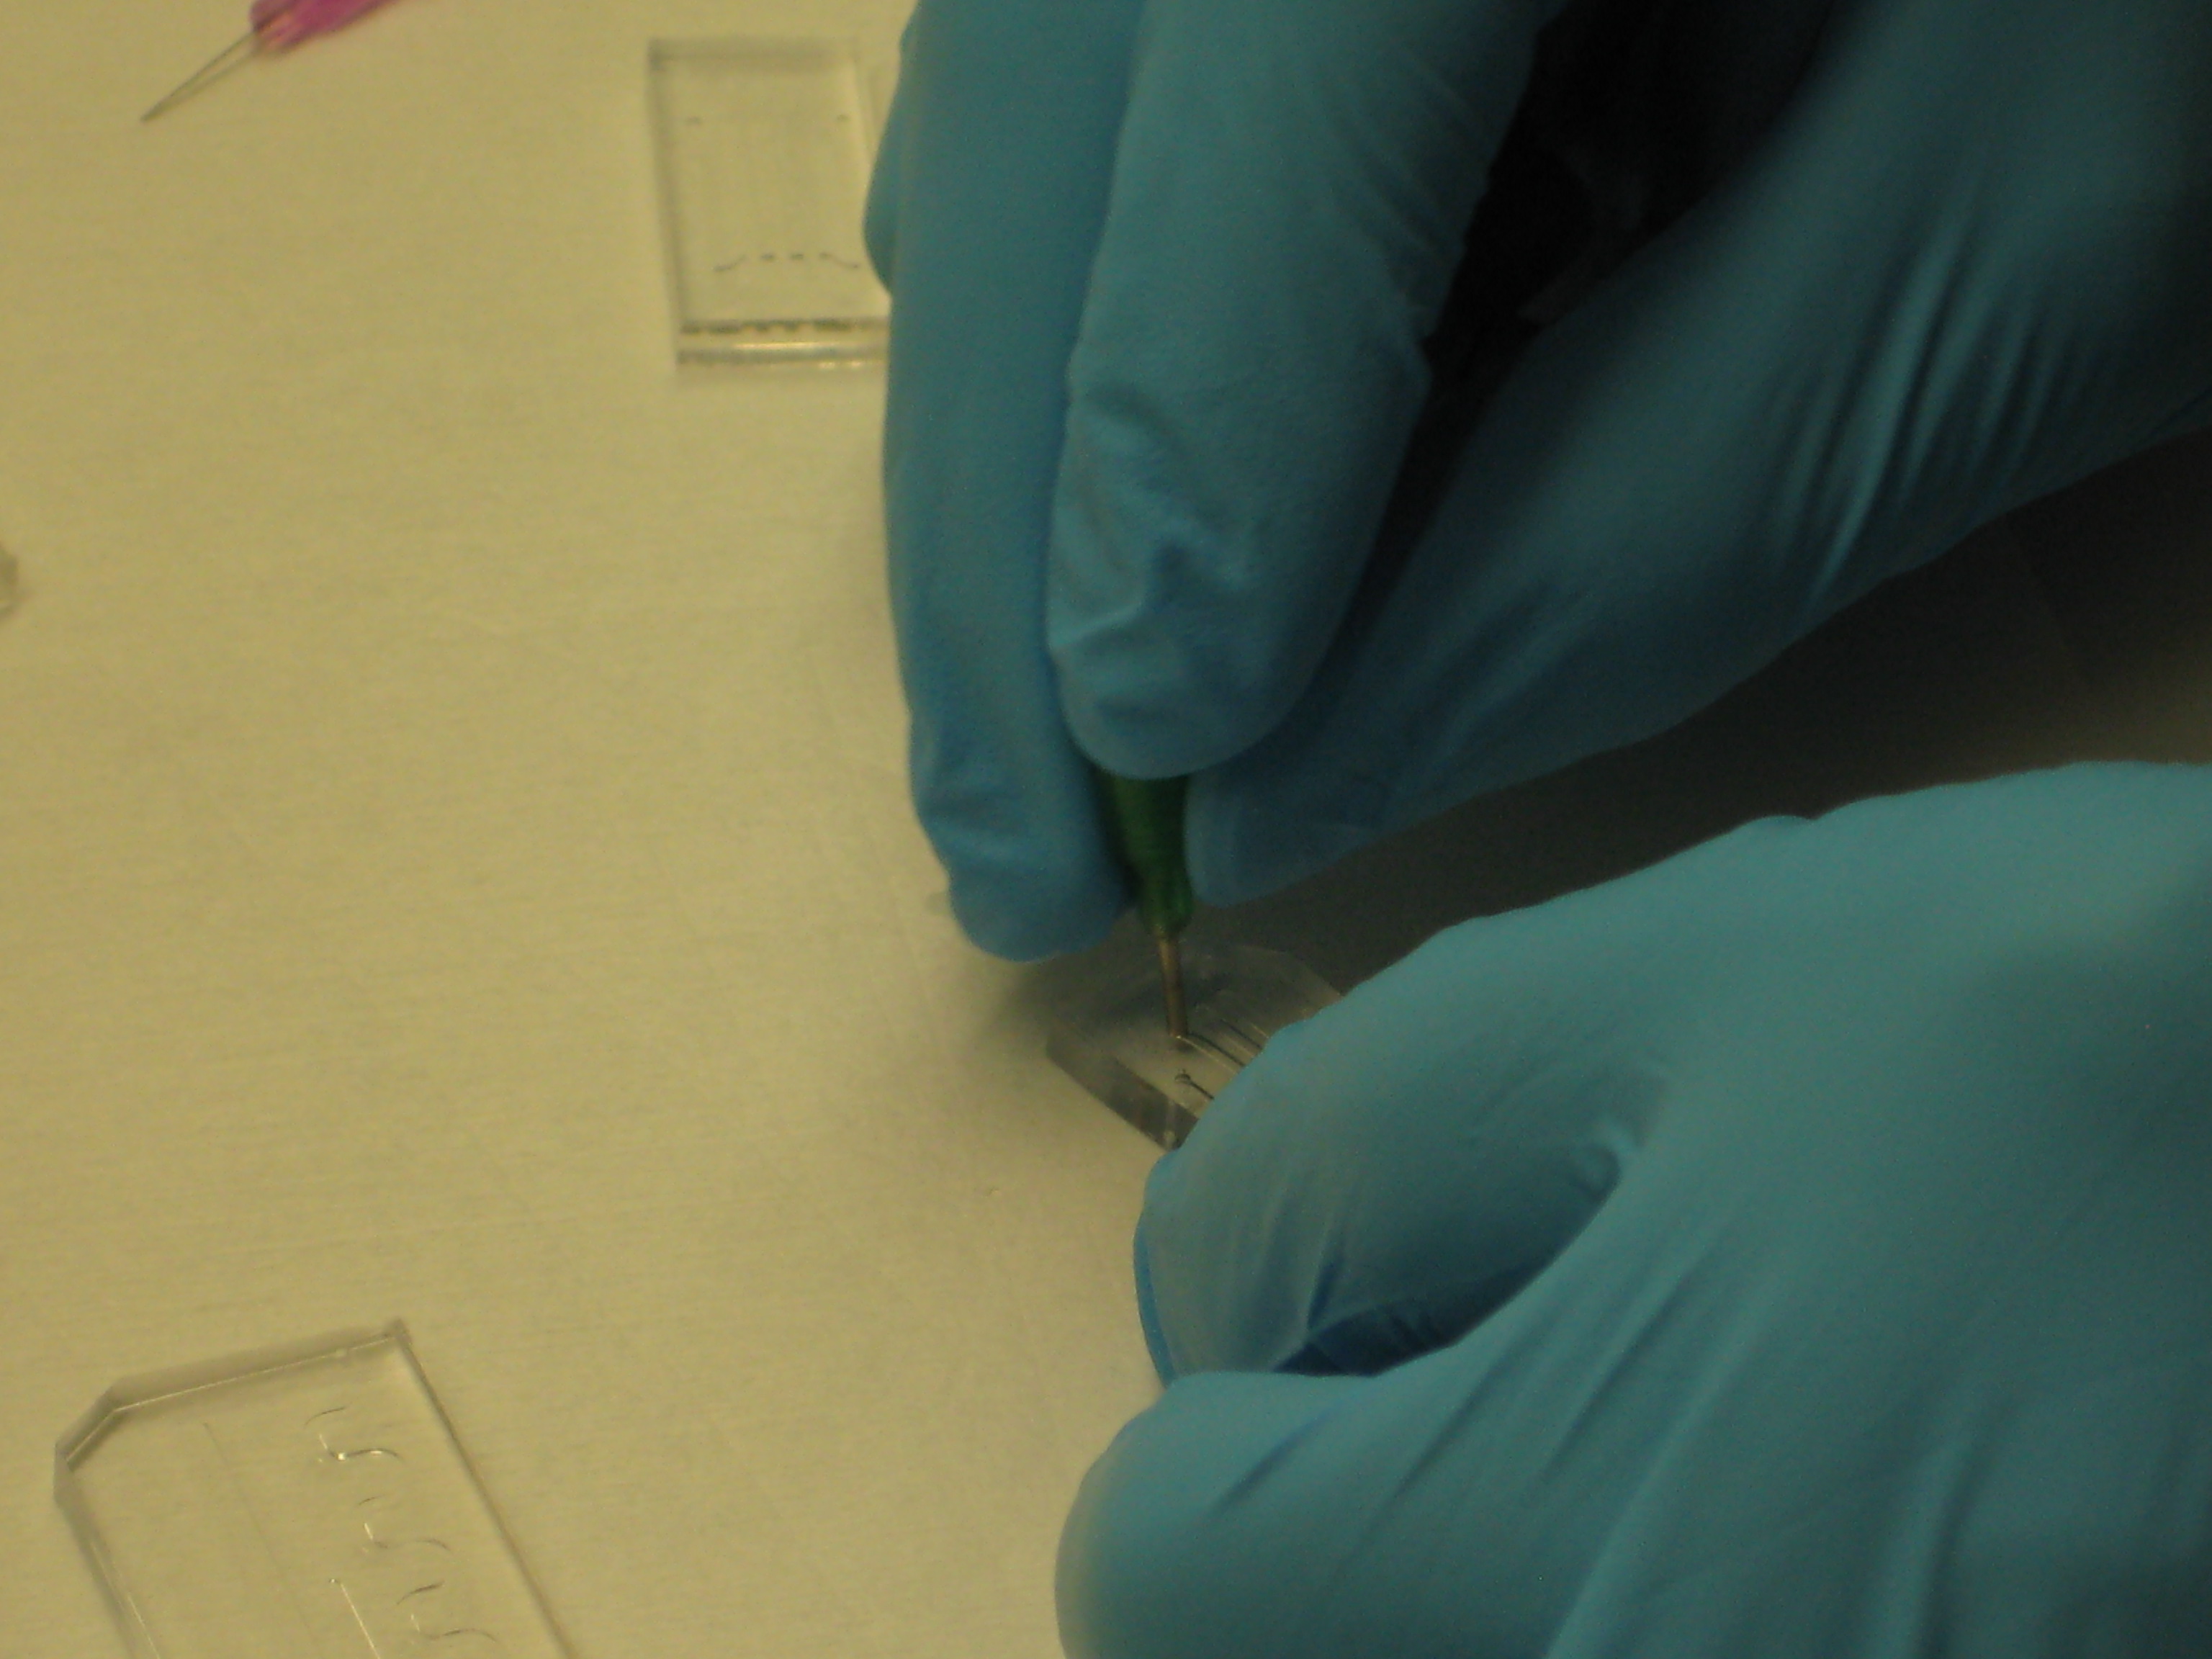
| This page presents description of our final channel design as well as description of its construction, which we did by ourselves. Our final channel is build out of PDMS and constructed with a technique called photolithography. We are also presenting the experiments we did to validate our setup and to show that it can work in practice | ||||
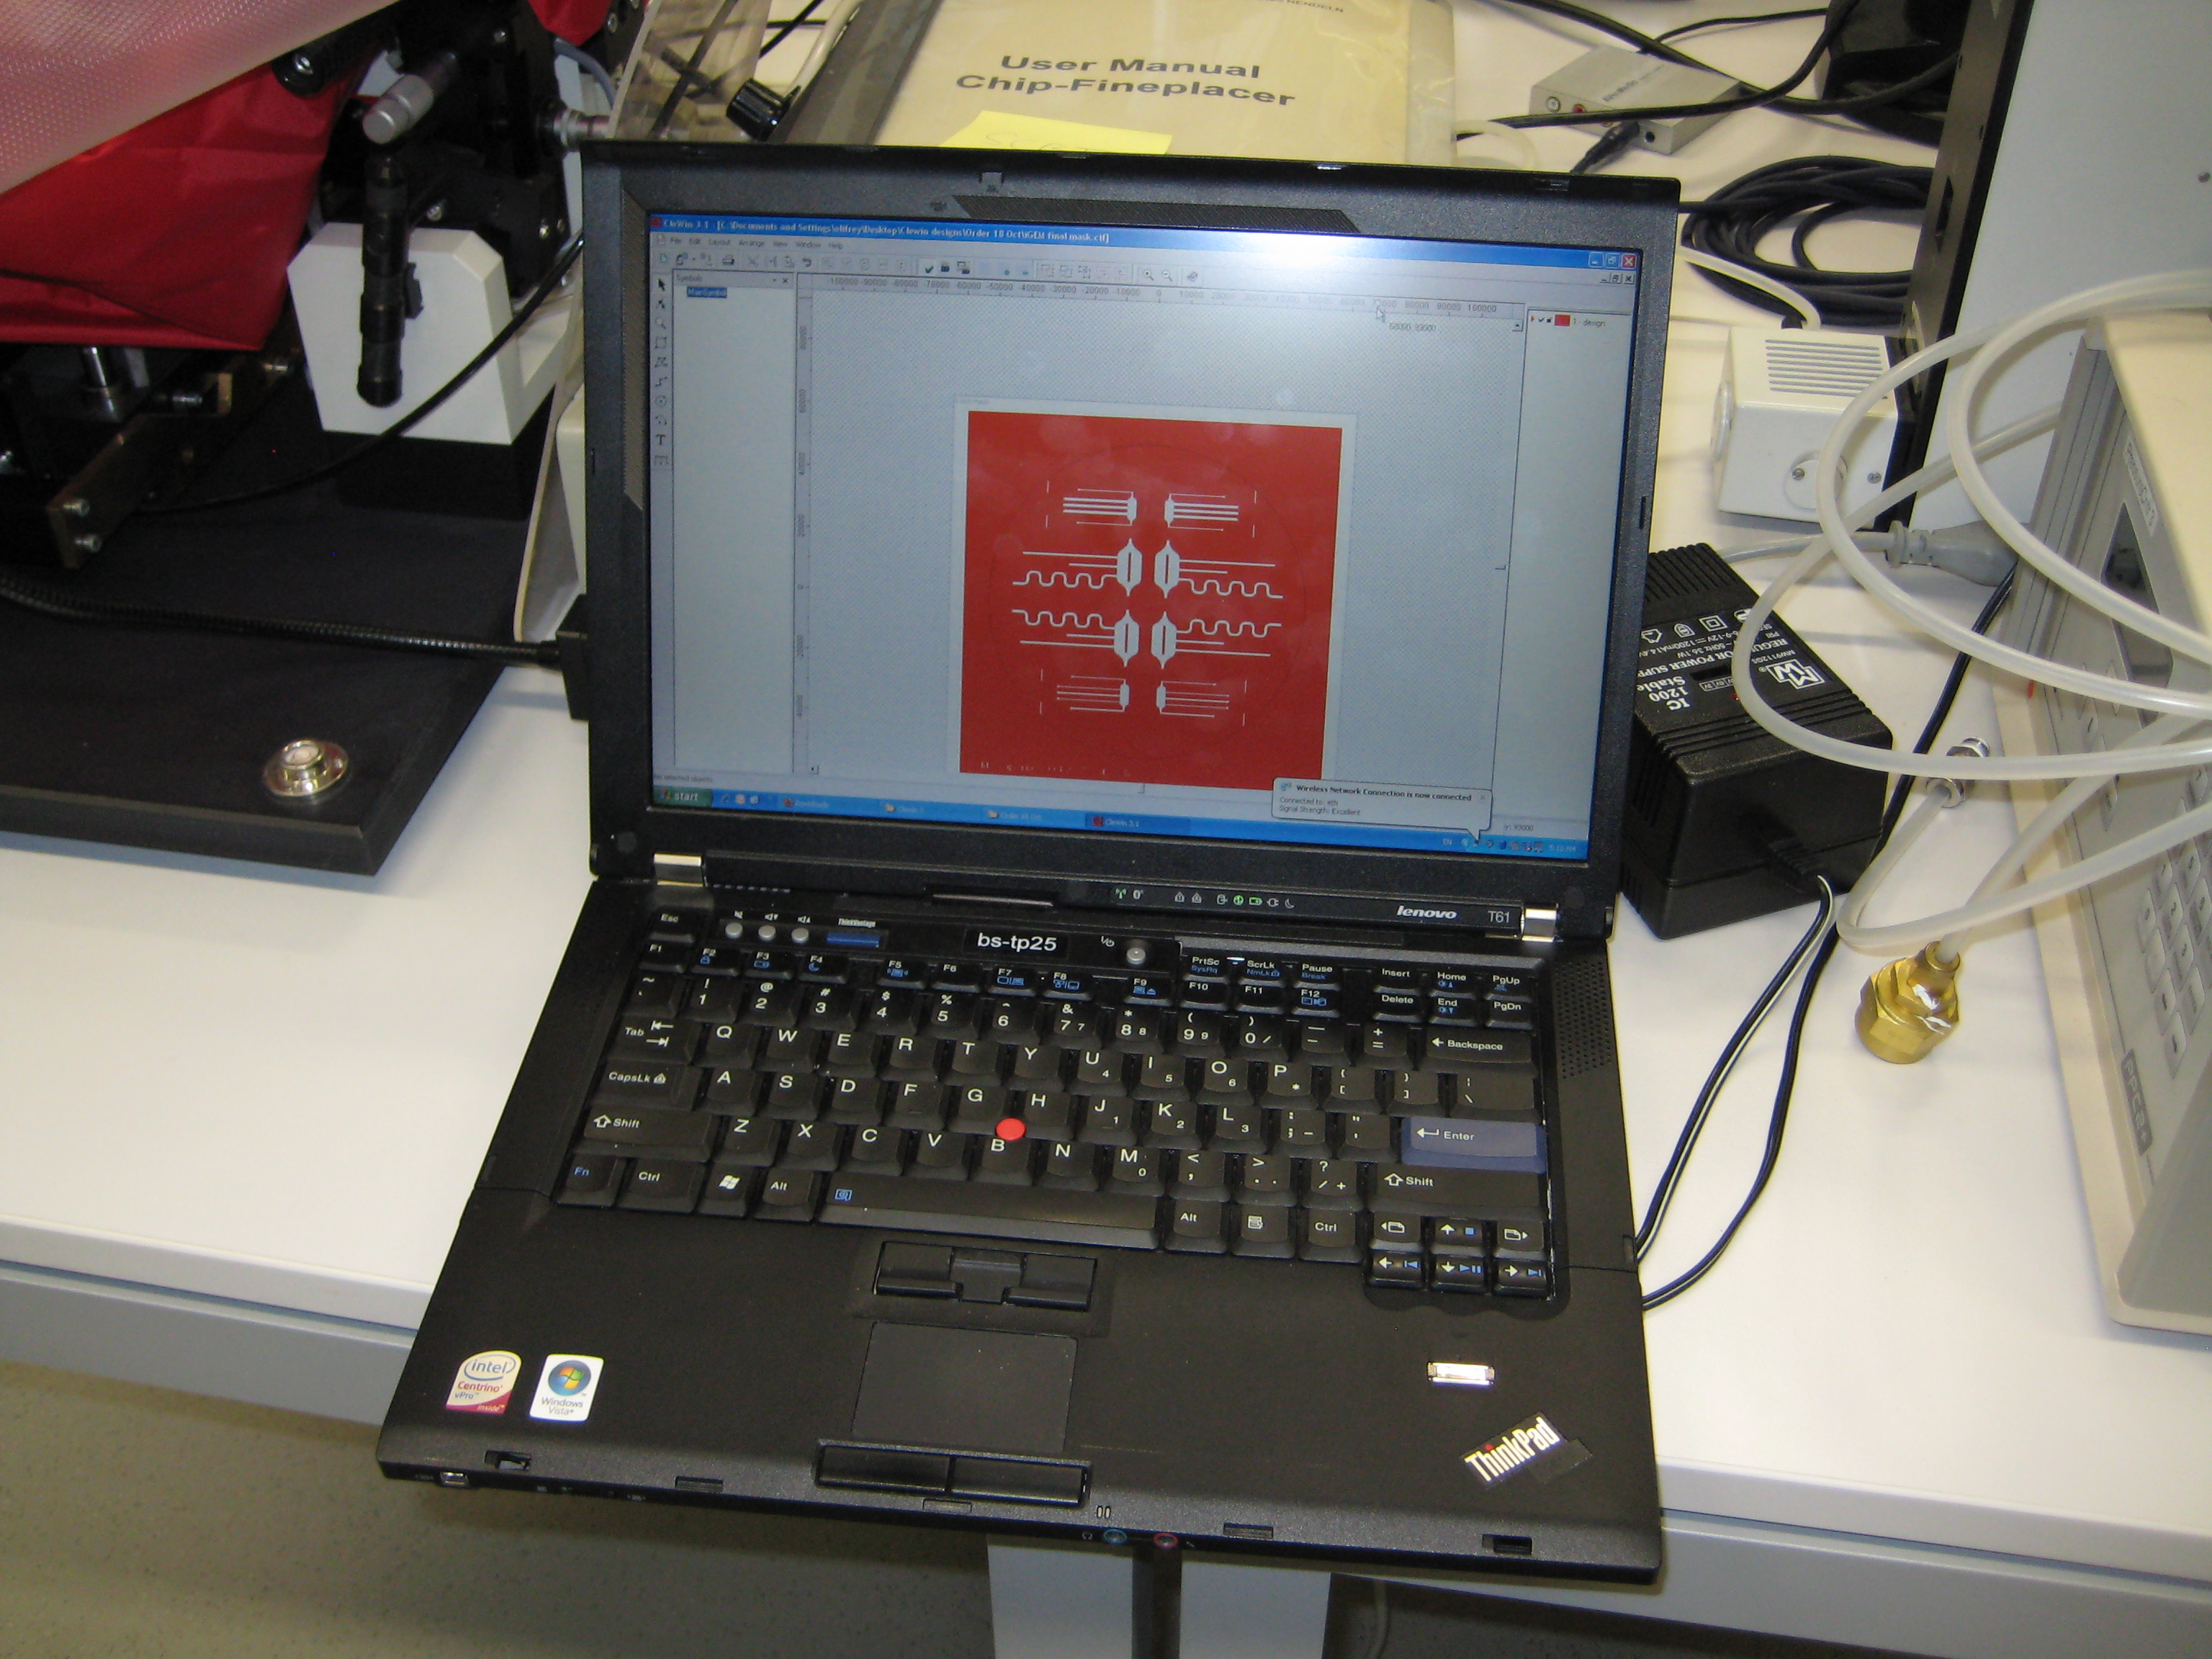
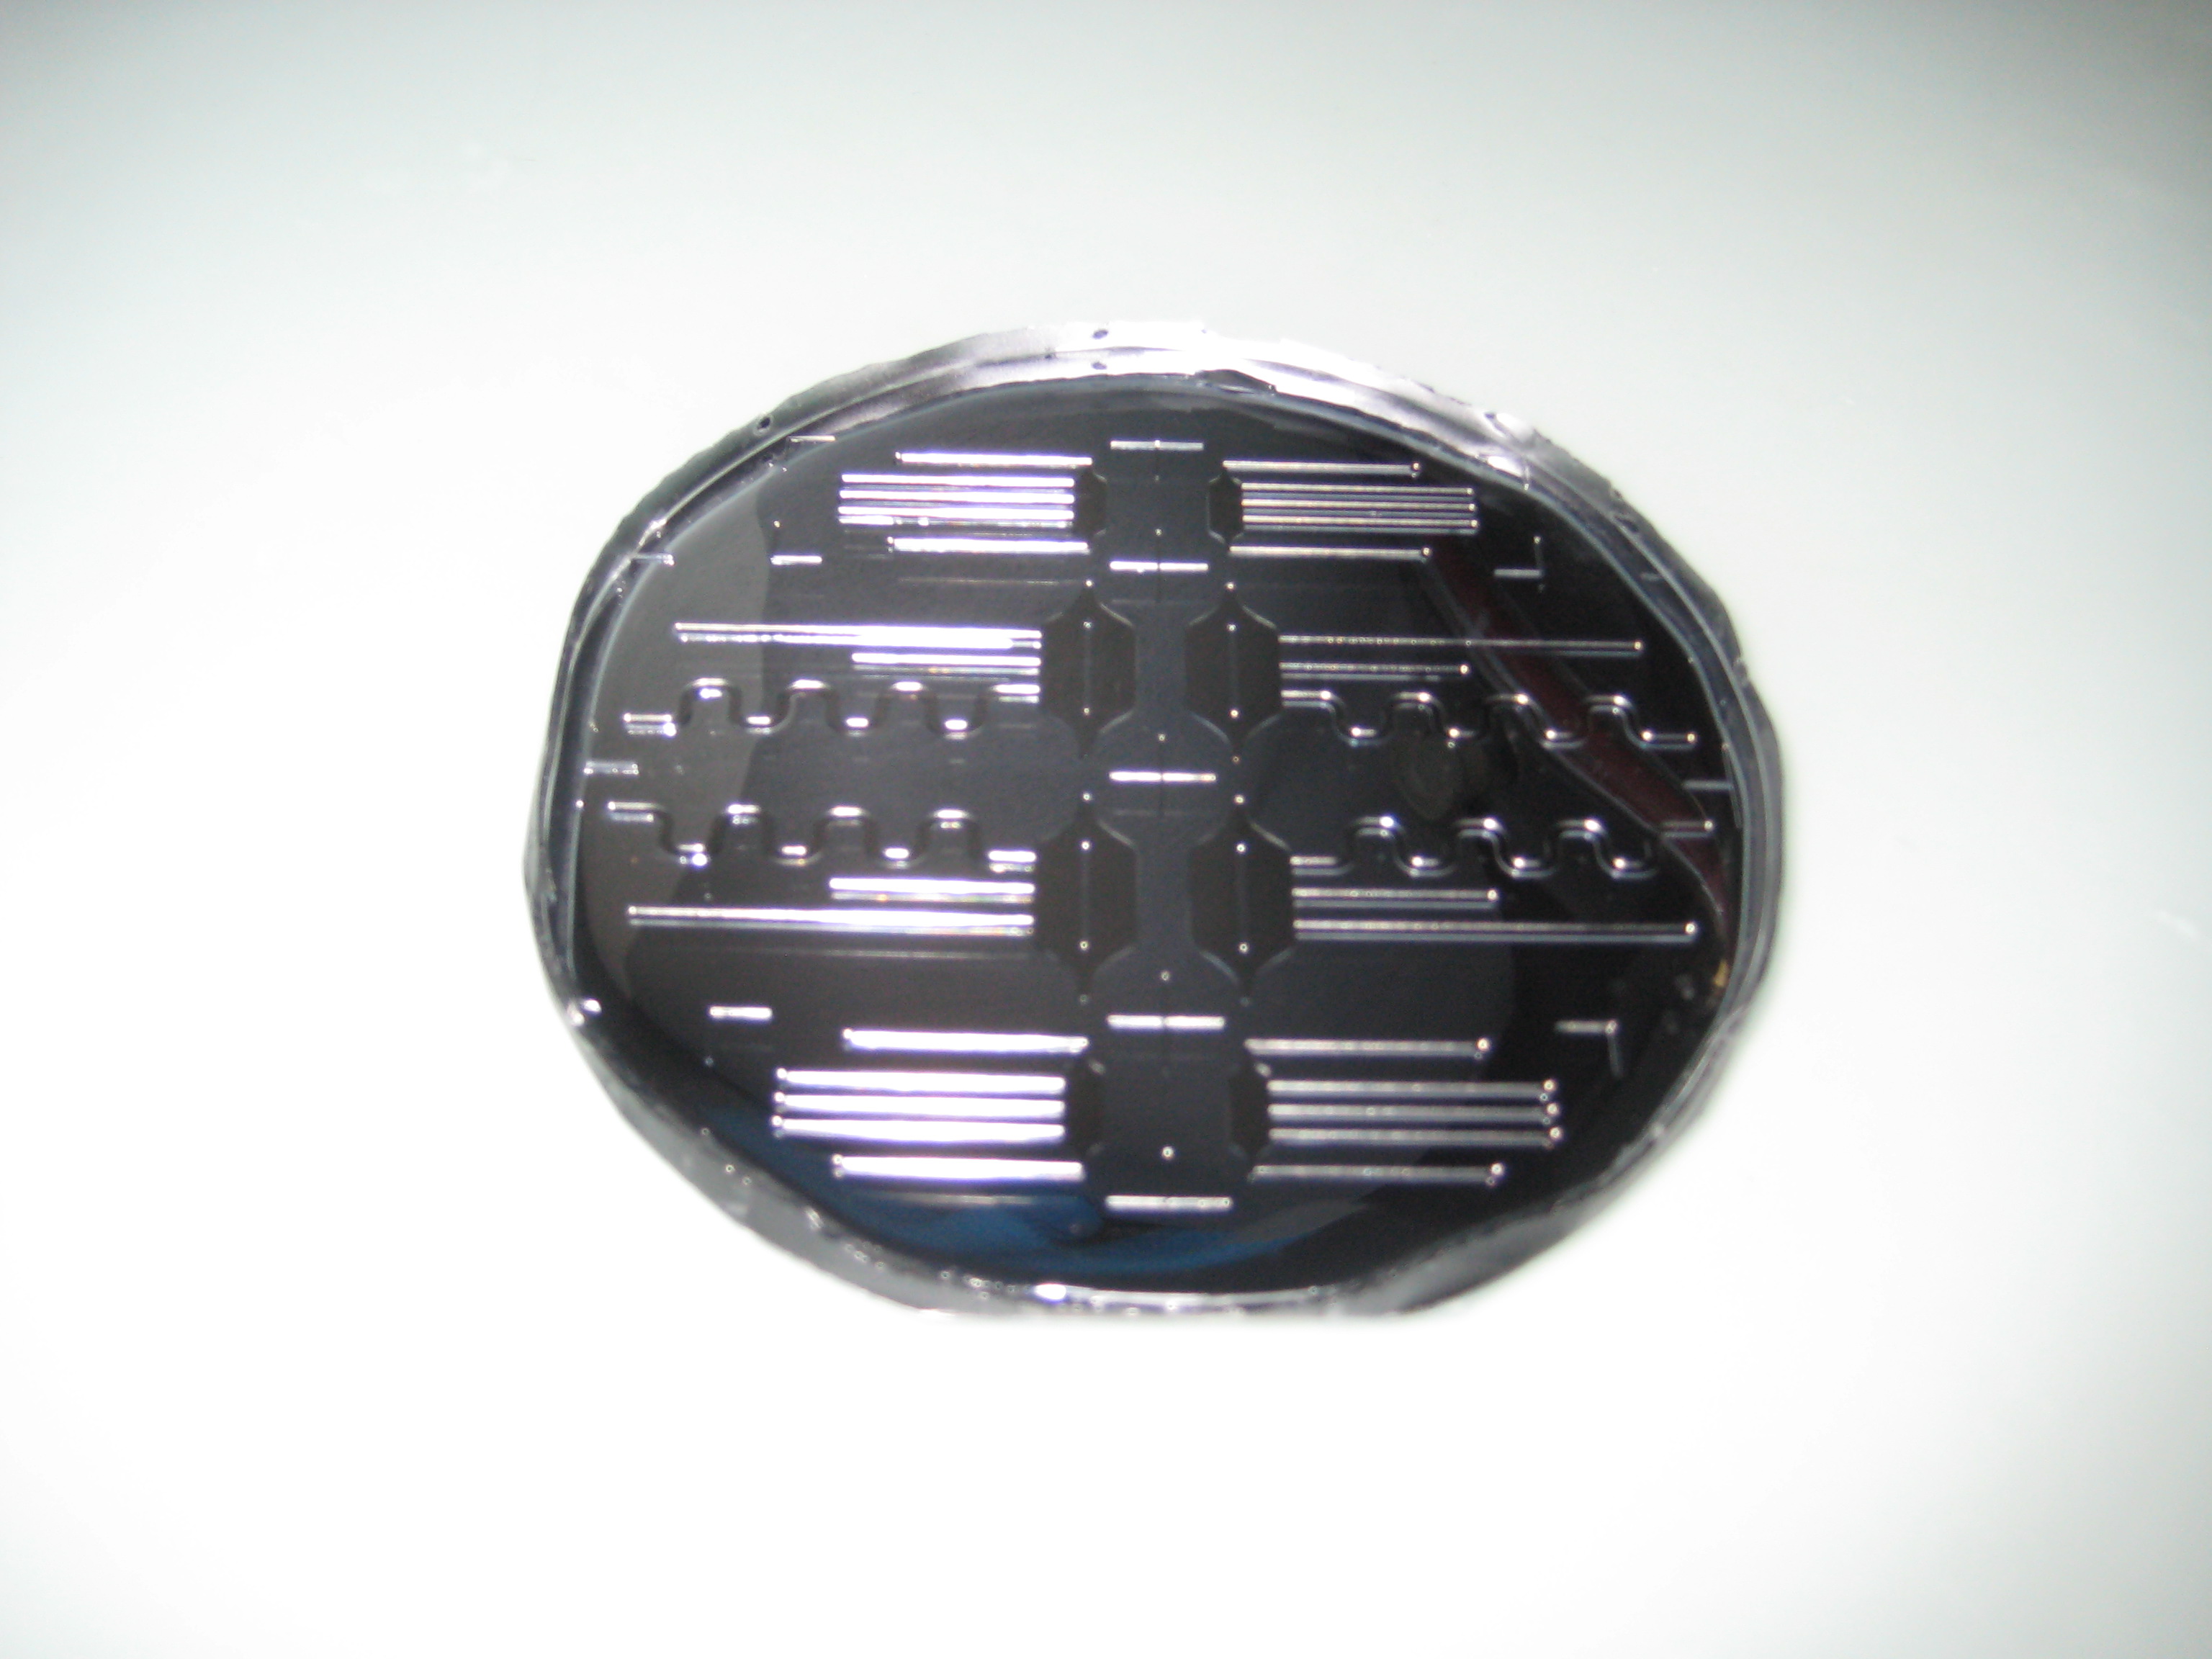
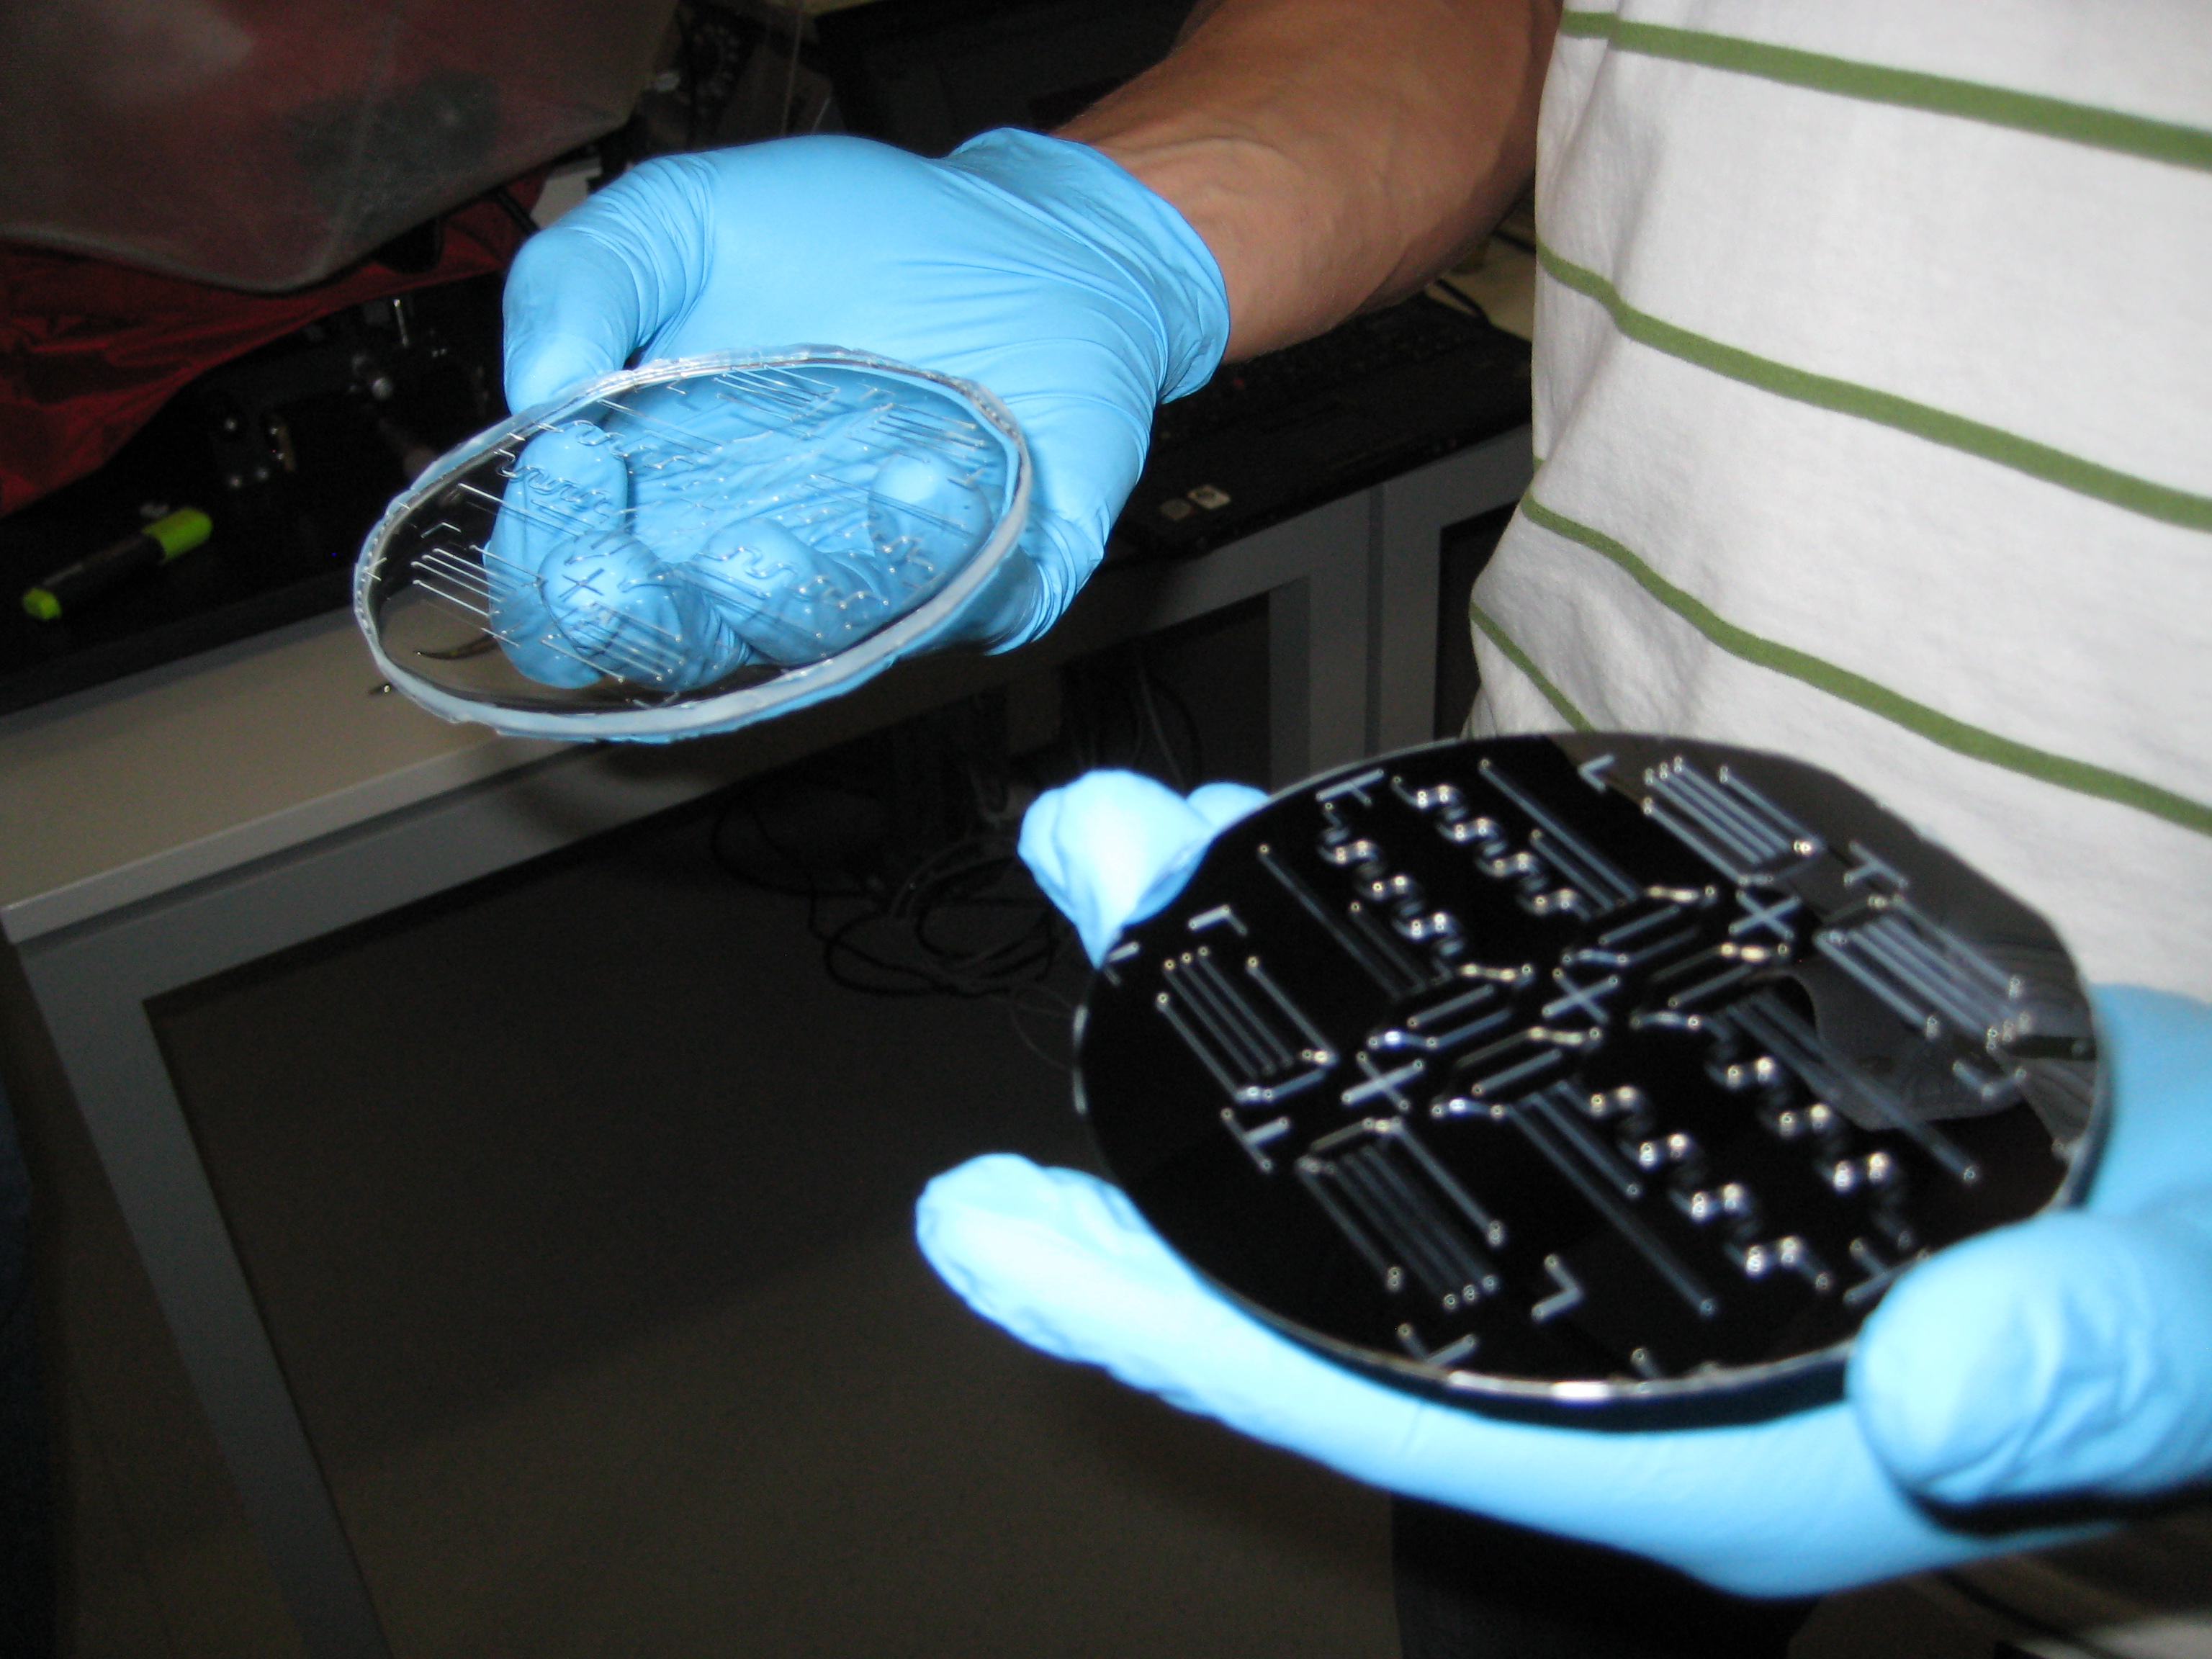
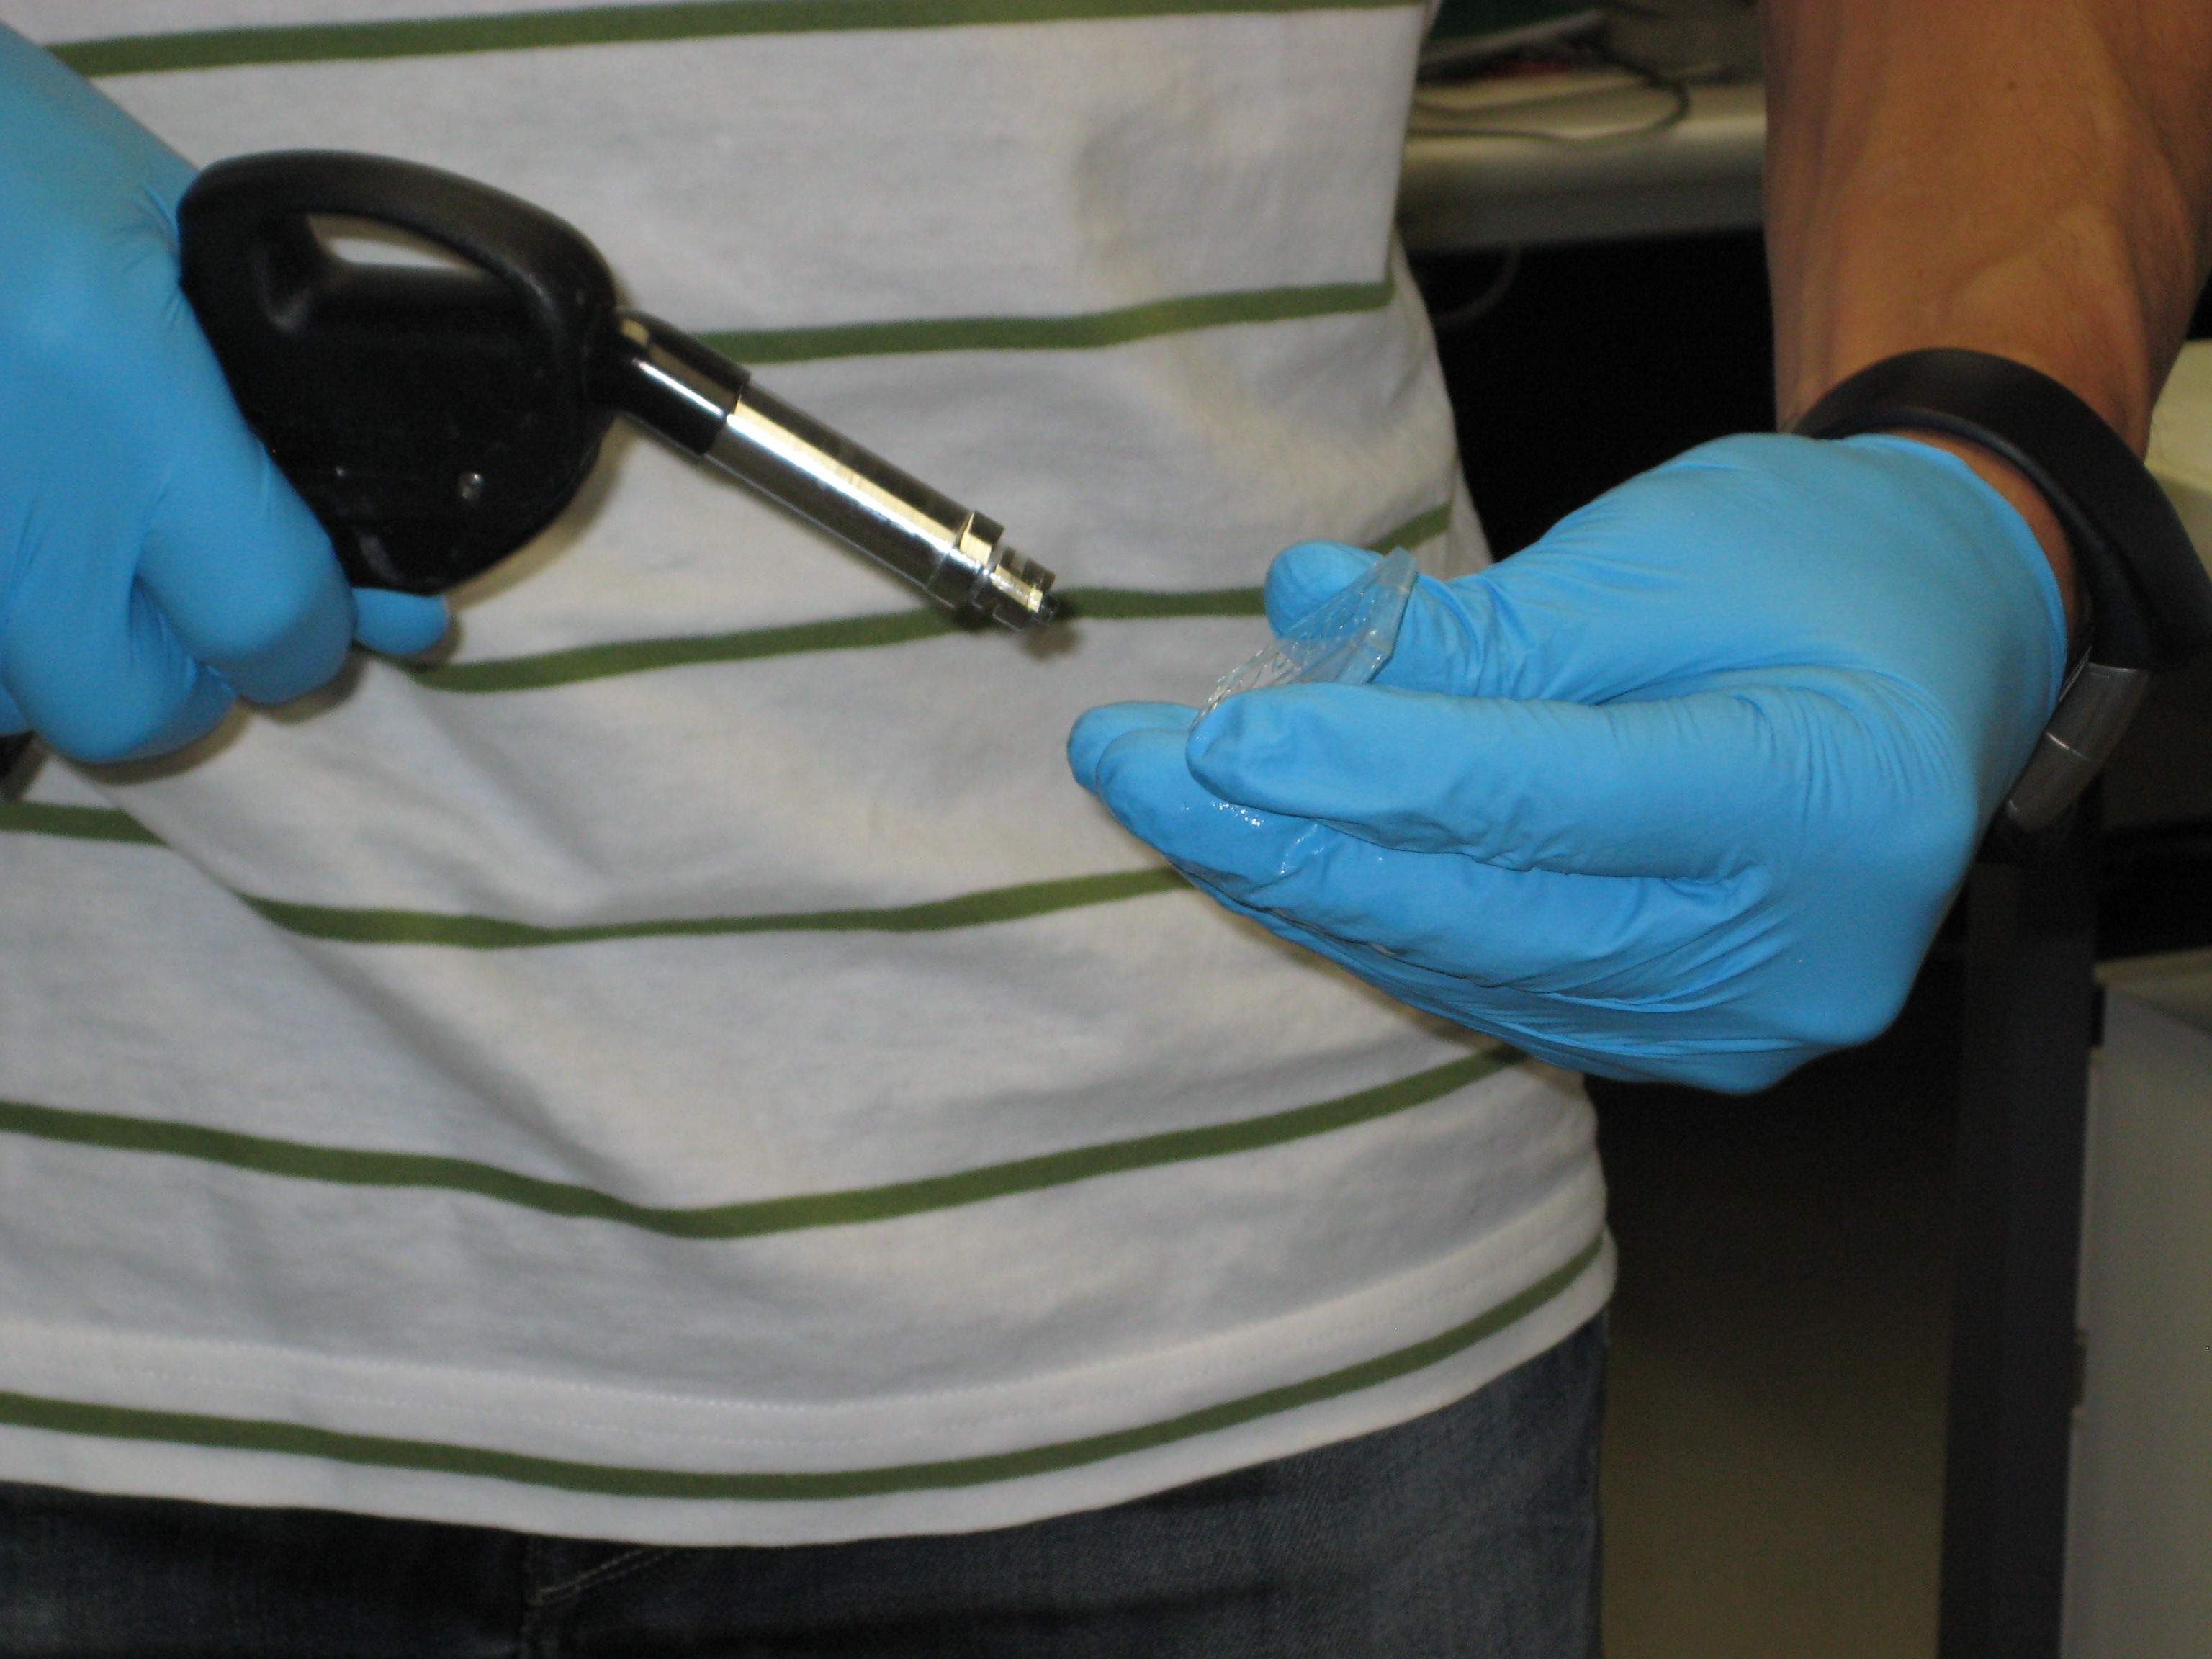
Final channel constructionTo construct our final channel, we used the technique photolithography. Photolithography is the photopatterning of channels from a mask (drawing of channels in 2D) and is based on the utilization of particular substances (photoresists) that become soluble to particular solvents after being exposed to UV light [1].
Within the devise we created small channels of different lengths ( and mm). The width of all of them is mm and their height is mm.
|
Setup ValidationblaWe checked whether our designed works by putting an engineered cells that produce GFP upon arabinose induction in agarose and filling the channel with it. In the reservoir we put arabinose in ____________ ?? After _____?? we optained a nice arabinose-inducible GFP gradient. |
 "
"
